How to Edit a YouTube Video for Beginners, Step by Step
 Wendy Zhang · November 19, 2026 · 10 min read
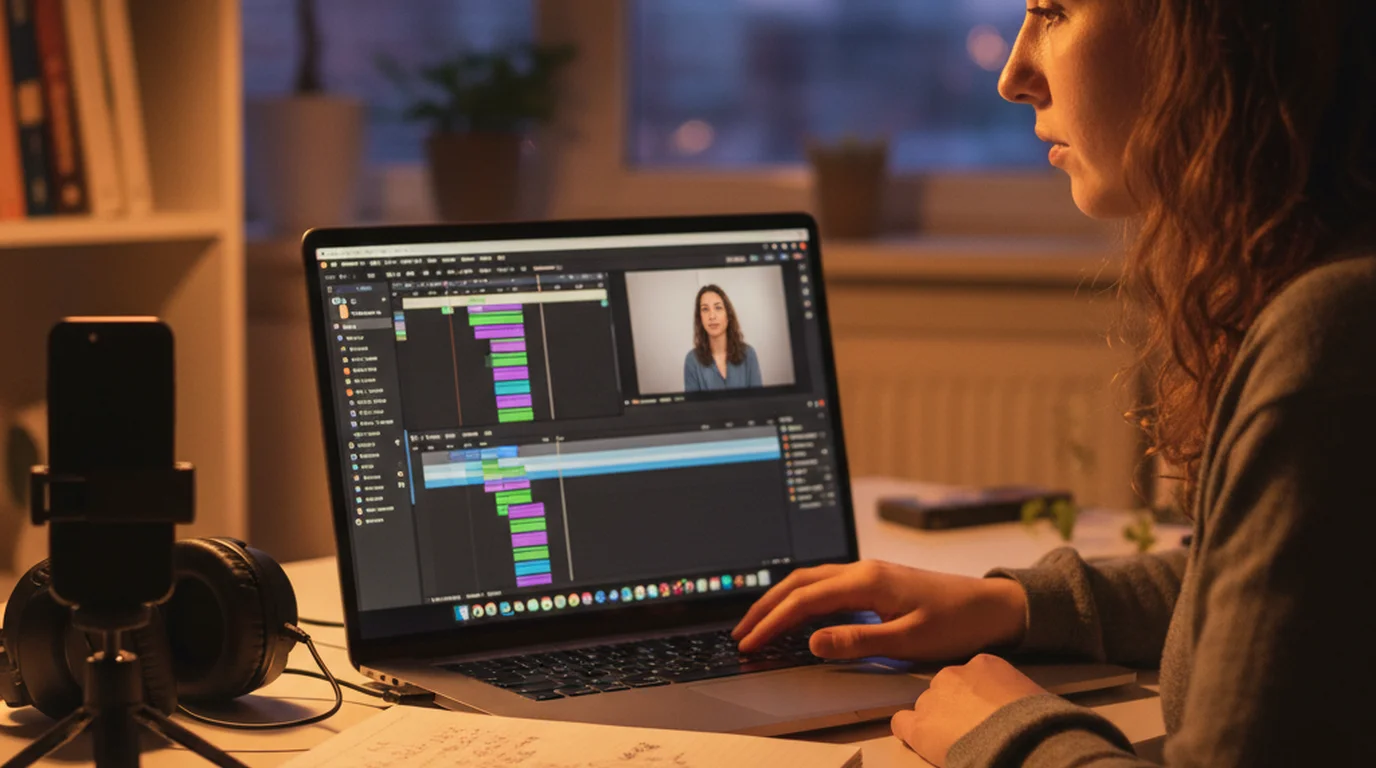
You've recorded your first video, and the folder holds forty minutes of footage for what should be an eight-minute upload. Learning how to edit a YouTube video is mostly learning the order to work in, because each pass makes the next one easier. Most beginner videos are someone talking to a camera, and in that kind of video the editing time doesn't go into effects. It goes into finding the take where a line came out right and cutting everything around it. The steps below follow the order working editors use, written as video editing for beginners, with the faster way to handle that first, longest pass.
To edit a YouTube video, work in this order: organize your footage and script, make a rough cut that removes retakes and long pauses, tighten the pacing with jump cuts and punch-ins, add B-roll, add captions, balance the audio and music, then export a 1080p MP4 and upload it. Each pass builds on the one before, so skipping ahead costs time.
Step 1: Organize your footage and script
Before you open an editor, put everything for the video in one folder: the clips, the script, any screen recordings, and the music you plan to use. Rename the clips in the order you recorded them. Editing apps import whatever you give them, and a tidy folder is the difference between a five-minute search and a thirty-second one every time you need a shot.
Keep the script open beside the editor. It's your map of the video: every section of the script should end up on the timeline, in order, and anything on the timeline that isn't in the script is a candidate for cutting. If you're still writing it, the guide on how to script a YouTube video covers structure, hooks, and length.
Step 2: Make a rough cut by removing retakes and pauses
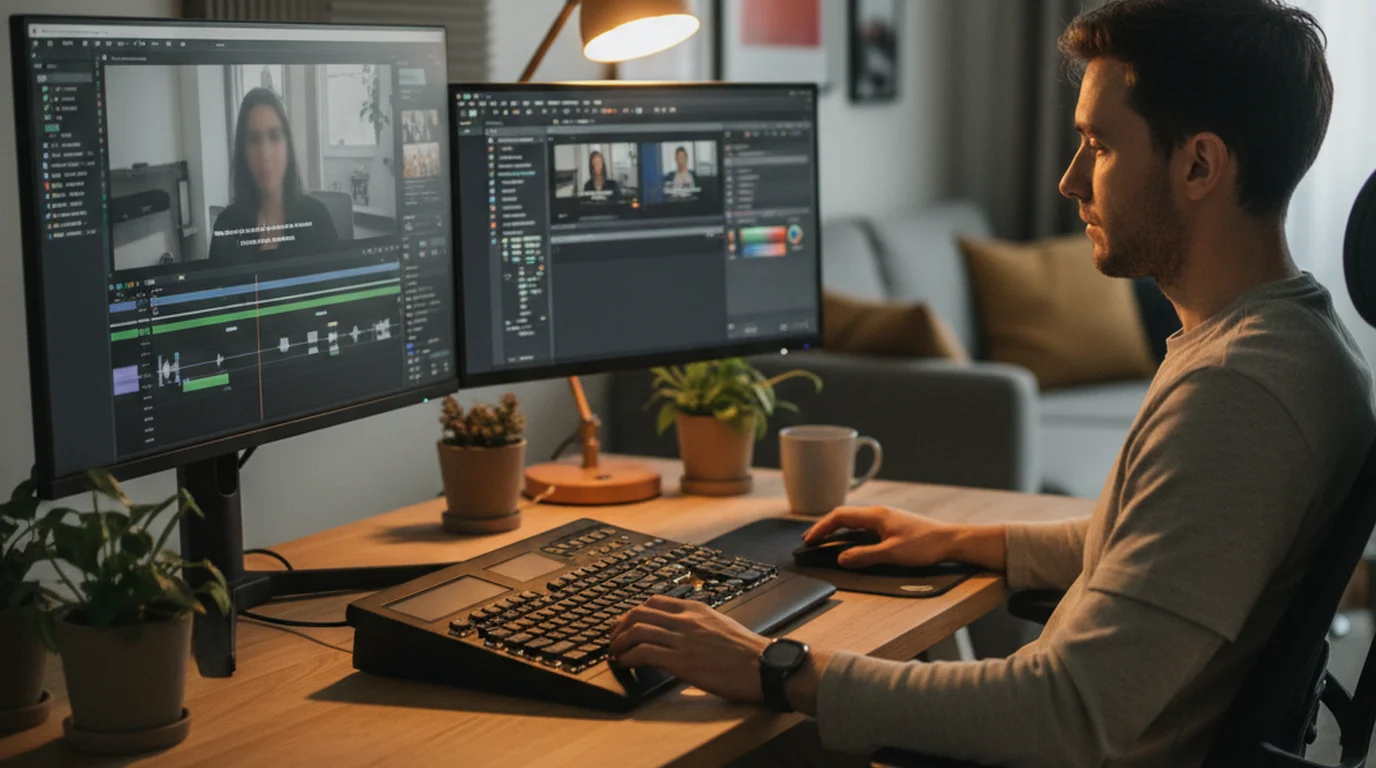
A rough cut is the first pass that removes everything you won't use: false starts, lines you read twice, long pauses, and the moments before and after you speak. It's the least creative part of editing and, for a talking-head video, the longest. The usual way is to scrub through the timeline, listen for each fluffed line, find the better take, and split and delete the rest.
There's a faster way when you record against a script. In Teleprompter Scrolling Scripts, Camera mode scrolls your script over the camera preview on iPhone, iPad, or Mac, and each recording keeps the script you read from. Export a take's subtitles as an .srt file and they follow your script's wording, with lines you read again tagged [Retake] and anything you said off-script tagged [Ad-lib]. The app is free, needs no account, and adds no watermark. That file turns the rough cut into a checklist instead of a search, and there are three ways to use it:
- By hand in any editor. Open the .srt beside your timeline and jump straight to each tagged timestamp. CapCut, iMovie, DaVinci Resolve, and Premiere Pro all let you split a clip at the playhead and delete the piece.
- With text-based editing. Descript and Premiere Pro's text-based editing show your video as a transcript, and deleting words from the transcript deletes them from the video. The tagged retakes tell you exactly which sentences to delete.
- With an AI agent. Claude Code or Codex can read the tagged subtitle file and cut every retake with ffmpeg from a one-line instruction. The step-by-step Claude Code editing workflow shows the prompt and the command it produces.
A rough cut is the first editing pass, where an editor removes retakes, false starts, and pauses before any creative work begins. In a talking-head video it takes the longest, because each mistake has to be found by listening. A script-aligned subtitle file that tags repeated lines turns that search into a list of timestamps to delete.
Step 3: Tighten the pacing with jump cuts and punch-ins
After the rough cut, the video makes sense but usually drags. Tightening means trimming the breath before each sentence and the beat after it, so one thought runs straight into the next. When you remove a few frames from the middle of a shot of yourself, your head jumps slightly between the two pieces. That's a jump cut, and on YouTube it reads as energy rather than a mistake, as long as it happens on a pause and not mid-word.
A punch-in hides the jump and adds variety. Scale the second clip up by 10 to 20 percent so the framing changes from a medium shot to a closer one, and the cut looks deliberate. Recording in 4K and exporting in 1080p leaves room to punch in without the picture getting soft. Use punch-ins for emphasis, at the line you want viewers to remember, rather than on every cut.
Step 4: Add B-roll over the talking
B-roll is footage you cut to while your voice keeps playing: your hands on the product, the screen you're describing, the place you're talking about. Place it on a track above the main clip at the moment your narration mentions what it shows. It also covers jump cuts you couldn't hide with a punch-in.
Add B-roll after the pacing is locked. If you add it before tightening, every trim on the main track shifts it out of sync. For shot ideas and how to film your own, see what B-roll is and how to use it.
Step 5: Add captions
Captions help viewers who watch on mute and make your video easier to follow for everyone else. You have two options. Closed captions are a separate subtitle file viewers can turn on and off; on YouTube you upload it in YouTube Studio alongside the video. Open captions are burned into the picture, which suits Shorts and clips you'll share on other platforms. The guide to open vs. closed captions covers which to use where.
CapCut and most editors can generate captions automatically from the audio. If you exported a script-aligned .srt in step 2, remember that your cuts changed the timing, so either let the editor regenerate captions from the finished cut or retime the file before you upload it.
Step 6: Balance the audio and add music
Viewers forgive soft video far more readily than bad sound. Listen through once with headphones and fix three things: your voice should sit at a steady level from start to finish, background music should sit well under your voice whenever you speak, and no cut should land with a click or a clipped breath. Most editors have a volume curve or keyframes for lowering music under speech, and some do it automatically.
Use music you have the rights to. YouTube Studio includes a free Audio Library of tracks you can use in your videos, which avoids copyright claims on uploads.
Step 7: Export and upload
Export at the resolution and frame rate you recorded in. For most channels that's 1920×1080 at 30 fps for regular videos and 1080×1920 for Shorts, in an MP4 file using the H.264 codec. Matching the frame rate you shot at avoids stutter; YouTube's recommended upload encoding settings list the container, codecs, and bitrates it prefers.
Upload in YouTube Studio, then add the title, description, thumbnail, chapters, and captions there. YouTube Studio also has a basic editor for trimming or blurring after upload, which is handy for a last-minute fix.
Which editing app should beginners use?
Any of these can produce a finished YouTube video, and how to edit YouTube videos well depends far more on the order above than on the app. Pick by device and by how you like to edit.
- CapCut runs on phones and computers, has automatic captions, and is the quickest way to start on a phone.
- iMovie is free on Mac, iPhone, and iPad and covers cutting, titles, and music for simple videos.
- DaVinci Resolve has a free version with professional editing, color, and audio tools, on Mac, Windows, and Linux, at the cost of a steeper learning curve.
- Premiere Pro is the industry standard on Mac and Windows and includes text-based editing for cutting from a transcript.
- Descript edits video by editing its transcript, which suits talking-head videos that are mostly speech.
The editor matters less than the footage you bring to it. A video recorded against a script, with clean takes and a subtitle file that already marks the retakes, edits faster in every one of these apps.
Frequently Asked Questions
What are the basic steps of video editing?
Organize your footage, make a rough cut that removes mistakes and pauses, tighten the pacing, add B-roll and graphics, add captions, balance the audio and music, then export. Doing them in this order means later steps don't get undone by earlier ones, such as B-roll drifting out of sync when you trim the main clip.
Is AI replacing video editors?
AI handles the mechanical parts of editing well: transcribing speech, generating captions, removing silences, and cutting marked retakes. Choices about story, pacing, which shot to show, and how a video should feel still need a person. For most creators, AI shortens the rough cut and leaves the creative decisions to them.
Can I edit YouTube videos on my phone?
Yes. CapCut and iMovie both run on iPhone, and CapCut also runs on Android. Phone editing works well for Shorts and simple talking-head videos. For longer videos with many cuts, B-roll layers, and music, a computer's larger screen and precise trimming make the job faster.
What is a jump cut in YouTube videos?
A jump cut removes a short piece from the middle of a continuous shot, so the speaker's position jumps slightly between the two remaining pieces. YouTubers use jump cuts to remove pauses and filler words and keep the pace up. Cutting on a pause keeps them smooth, and a slight zoom on the second clip, called a punch-in, hides the jump.
How do I remove pauses and mistakes from a video quickly?
Record against a script, so every mistake shows up as a line that doesn't match it. Teleprompter Scrolling Scripts exports subtitles that tag repeated lines as [Retake], which you can cut by hand, in a text-based editor, or with an AI agent. For pauses alone, many editors and silence removers cut gaps by loudness.
Can you edit a video after uploading it to YouTube?
Yes, within limits. The editor in YouTube Studio lets you trim the start, end, or middle of an uploaded video, blur parts of it, and add an end screen, without uploading again. Bigger changes, such as adding B-roll or new captions burned into the picture, need a new upload.
What resolution should I export a YouTube video in?
Export at the resolution and frame rate you recorded in. For most creators that's 1920×1080 at 30 fps in an MP4 file with H.264 video. Shorts use a vertical 1080×1920 frame. Exporting 4K footage at 4K is worth it only when the detail matters for your content.
Start with footage that edits itself
Editing a YouTube video gets faster the cleaner your recording is. Work in order, rough cut first and polish last, and bring a script and a subtitle file that already knows which lines were retakes. The free app for iPhone, iPad, and Mac handles the recording side, and every editor on this list handles the rest.
Wendy ZhangWendy Zhang is the indie developer behind Teleprompter Scrolling Scripts, which she built after cycling through teleprompter apps that were too heavy, too expensive, or dependent on a network connection to open. She writes about the mechanics of recording yourself — scroll pacing, script formatting, and the app decisions that decide whether a take survives.
Record Footage That Edits Faster
Teleprompter Scrolling Scripts scrolls your script over the camera on iPhone, iPad, and Mac, then exports subtitles that mark every retake, so your rough cut starts from a list instead of a search. Free to download, no account.
Use Free Online Teleprompter Get the Free App