Woman recording a talking-head video at her desk in front of a ring light

Free tool · No upload · No sign-up

Silence Remover Remove silence from video and audio automatically, free online

This silence remover finds the pauses in a video or audio file, shows them on a waveform and cuts them out when you export. It is free and runs in your browser, so the file stays on your device.

  • Video or audio
  • Waveform preview

How to remove silence from a video

Choose the recording, check the red stretches on the waveform, export the tightened version.

Remove silence from a video in three steps

  1. Press Choose a video or audio file, or drop the recording onto the box. The silence remover reads the sound and draws it as a waveform.
  2. Check the red stretches: those are the pauses that will go. Move the three sliders until the summary line (pauses found, time removed, new length) looks right.
  3. Press Remove silence and export MP4, watch the result in the page, then press Download MP4. For a podcast or voice-over, use Export audio only as WAV or MP3 instead.

The first file loads the editor, about 30 MB that your browser keeps for next time. Finding the pauses is quick because it reads a small copy of the sound. The export takes longer, since the whole video is cut and encoded again on your device.

level  ▃▆▇▅▆▃▁▁▁▁▁▁▁▁▄▇▆▇▃▁▁▁▁▁▁▁▁▁▁▁▅▇▆▄
- - - - - - - - - - - - - - - - - - - - -  −42 dB
       speech pause 1.6 s speech  pause 2.2 s  speech
         │        ✂          │        ✂          │
         ▼                   ▼                   ▼
kept   ▃▆▇▅▆▃ ▁ ▄▇▆▇▃ ▁ ▅▇▆▄
               └ 0.15 s left at each cut
Anything quieter than the yellow threshold line for longer than the minimum pause is cut. A short gap stays at each cut so every sentence keeps its natural ending.

What the three settings do

Silence below is the level that counts as quiet. When the file loads, the tool measures the room's own background noise and sets this line 8 dB above it, so a quiet home office and a humming café both start from a sensible point. Raise it (toward −20 dB) if breaths and room tone are being kept; lower it (toward −60 dB) if soft words at the end of sentences turn red.

Remove pauses longer than decides which gaps are worth cutting. The default 0.6 s keeps the natural rhythm between words and removes the hesitations between thoughts. Leave this much pause keeps a little air at each cut, split evenly before and after, so each sentence keeps its natural ending.

SettingRangeStarts atTurn it up for
Silence below−60 to −20 dBNoise floor + 8 dBNoisy rooms, fans, breaths
Remove pauses longer than0.2 to 3 s0.6 sA calmer, more natural pace
Leave this much pause0 to 0.6 s0.15 sSofter cuts between sentences
Every slider change redraws the red areas and the summary at once, so you see the new length before exporting.

Edit faster once the dead air is gone

A talking-head recording is mostly hesitations, restarts and the walk from the camera back to the chair. Removing that dead air first means the file you open in CapCut or Premiere Pro already plays as a tight first cut, and your editing time goes into B-roll, captions and music instead of trimming gaps by hand.

The same goes for AI editing workflows. A shorter MP4 with clean cut points is quicker to transcribe and easier to hand to an assistant such as Claude Code or Codex for scripted edits with FFmpeg.

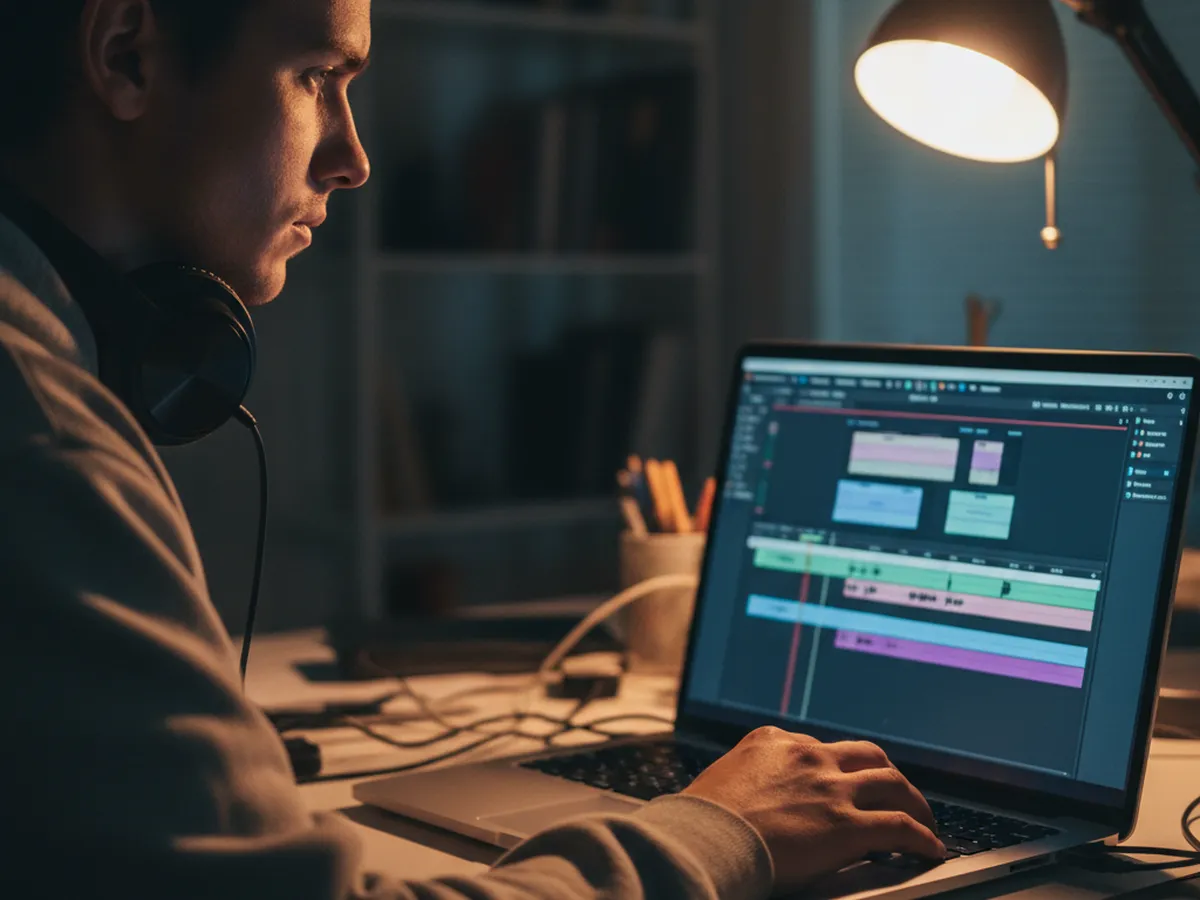
Video editor trimming clips on a timeline late at night

What does a silence remover do?

A silence remover scans a recording for stretches where the sound stays below a set level for longer than a set time, then cuts those stretches out and joins the rest. On a talking-head video the result is a jump-cut edit: the same speech, delivered without the pauses, hesitations and dead air between sentences.

It works purely on loudness, so in practice it acts as a simple jump cut editor that is fast and predictable: anything quiet and long enough is removed, anything spoken stays. It also means the settings matter more than any clever algorithm, which is why this page shows the cuts on a waveform before anything is exported.

How the pauses are found and cut

When you choose a file, the tool makes a small mono copy of the sound at 8 kHz, which is plenty to judge loudness and quick to read even for an hour-long recording. It splits that copy into 20 millisecond windows and measures the level of each one in decibels.

To pick a starting threshold, it sorts those levels and takes the quietest tenth of the recording as the room's noise floor, then sets Silence below 8 dB above it. Every run of windows under that line that lasts longer than Remove pauses longer than becomes a cut, shortened at each end by half of Leave this much pause. Silence at the very start and end is removed completely.

On export, FFmpeg keeps only the parts to keep and re-encodes the video as H.264 with AAC sound, a combination that plays on every phone, browser and editor. Audio-only exports are 16-bit WAV or 192 kbps MP3. Audio files such as MP3, WAV and M4A work the same way and export as audio.

Jump cuts: the look of a video without pauses

Removing pauses from video produces jump cuts, where the speaker's head shifts slightly between one sentence and the next. On YouTube, TikTok and Reels that look reads as energetic and deliberate, and it keeps viewers listening. A few habits make it look intentional rather than accidental:

  • Keep a little pause. 0.1 to 0.2 s at each cut sounds like natural speech. At 0 s, sentences run into each other.
  • Use a locked-off camera. A tripod keeps the frame identical, so only you move at each cut.
  • Hide big jumps. In your editor, cover a jarring cut with B-roll, or punch in to a tighter crop on alternate sections.
  • Raise the minimum pause for teaching videos. 1 s or more keeps the thinking time that helps a lesson land.

Removing filler words like um and uh

A filler word is speech, so its level sits above the silence line along with every other word. Filler words are found by reading the transcript, and the free way to do that is a short workflow: run the silence remover first, transcribe the shorter video with the captions tool in your editor or any transcription service, then read through the text. The SRT to TXT converter turns a subtitle file into a plain transcript that is easy to scan, and every timecode in the original SRT points you to the exact spot.

From there, cut the ums in CapCut or in Premiere Pro's text-based editing, where deleting a word in the transcript removes it from the timeline, or give the transcript and the video to an AI assistant to produce a cut list. If you keep the captions, the SRT editor shifts the timing to match the final edit.

Where removing dead air helps most

  • Talking-head videos. Tutorials, product demos and vlogs recorded in one long take.
  • Podcasts and voice-overs. Export WAV for further editing, or MP3 to publish straight away.
  • Lectures and webinars. Long gaps while slides change or questions come in.
  • Screen recordings. The pauses while a page loads or you look for the next click.

The silence remover works in current browsers on desktop and on phones. A laptop or desktop handles long, high-resolution videos best, because the re-encode runs on your own processor. When you also want the untouched full soundtrack as a backup, the audio extractor saves it as MP3, WAV or M4A.


Teleprompter Scrolling Scripts on iPhone, iPad and Mac, with the script scrolling over the camera

Next step

Fewer pauses start at the recording

Most dead air comes from looking away to remember the next line. With the free online teleprompter, your script scrolls on screen while you record from the webcam, so you keep talking to the lens. On iPhone, iPad and Mac, Teleprompter Scrolling Scripts places the script right under the camera and scrolls at your speaking pace.

Frequently Asked Questions

How can I remove filler words from a video for free?

Transcribe the video, read the transcript and cut each filler word at its timecode. Use the free captions in CapCut or any transcription tool, turn the SRT into plain text with the SRT to TXT converter to scan it, then delete the ums in your editor. Run the silence remover first so the transcript is shorter.

How do I remove silence from a video?

Open this silence remover, choose the video, check the pauses marked in red on the waveform and press Remove silence and export MP4. The tool finds every stretch quieter than the threshold and longer than the minimum pause, cuts it out and leaves a short gap so speech sounds natural.

What are the best silence remover settings for talking-head videos?

Start with the automatic threshold, a minimum pause of 0.5 to 0.7 s and 0.1 to 0.15 s of pause left at each cut. That gives a fast, natural jump-cut pace. For lessons or calm storytelling, raise the minimum pause to about 1 s. If quiet word endings turn red, lower Silence below a few decibels.

Is this silence remover free and private?

Yes. It is free with no sign-up, watermark or daily limit, and it runs inside your browser with FFmpeg compiled to WebAssembly. The video stays on your device from the first analysis to the final download, which suits client recordings, unreleased videos, interviews and private calls.

Can I remove pauses from an audio file like MP3 or WAV?

Yes. Choose an MP3, WAV or M4A file and the tool works the same way, then exports the shortened version as WAV or MP3. For a video, the Export audio only buttons also give you a WAV or MP3 of the tightened soundtrack.

Can I auto cut silence in Premiere Pro or CapCut instead?

Premiere Pro's text-based editing can find and delete pauses from its transcript. This tool works as a free first pass for any editor, CapCut and Premiere Pro included: export the MP4 here, import it, and the timeline starts with the dead air already removed, so editing begins at the creative part.

Will the cuts look like jump cuts?

Yes, on video each removed pause becomes a jump cut, where the speaker shifts slightly between sentences. Recording on a tripod keeps the frame steady so the cuts look clean. In your editor you can cover larger jumps with B-roll or a punch-in zoom.

Why does the export take longer than finding the pauses?

Finding pauses reads a small 8 kHz mono copy of the sound. Exporting cuts the full video and encodes it again as H.264 on your own processor, so the time grows with the video's length and resolution. Audio-only WAV or MP3 exports finish much faster.