How to Do a Voiceover and Add It to Your Video or Slides
 Wendy Zhang · October 6, 2026 · 11 min read
A voiceover turns up in more places than most people expect: the narration on a product tutorial, the talk track behind a slide deck, the explanation over a TikTok clip, the intro to a YouTube video. Pressing record is the easy part. The hard part is getting through the script cleanly, without the stumbles and restarts that come from glancing between a page and a microphone. Here is how to do a voiceover from start to finish: write a script that sounds right out loud, record it while the words scroll in front of you, clean it up, and add it to PowerPoint, Google Slides, TikTok, iMovie, CapCut, or Canva.
To do a voiceover, write a script of about 150 words per finished minute, record it in a quiet, soft-furnished room with the microphone 15 to 20 centimetres from your mouth while reading from a scrolling script, cut the mistakes, export the audio file, then add it in your editor at the point where the narration should start.
How to do a voiceover in 5 steps
Every good voiceover, whether it runs 30 seconds or 30 minutes, comes out of the same five steps. The order matters: most problems people try to fix in editing, such as a rushed pace, a fumbled line, or a room that echoes, are cheaper to prevent before the recording starts.
- Write a script for the ear, not the page.
- Set up a quiet recording spot and place the microphone.
- Record while reading from a scrolling script, restarting the sentence whenever you stumble.
- Edit out the mistakes and even out the volume.
- Export in a format your editor accepts, then add it to the video or slides.
Plan on roughly 45 minutes for a two-minute narration the first time: 15 to write, 10 to set up, 10 to record, and 10 to edit. It gets faster once the room and the settings are sorted.
Step 1: Write a voiceover script for the ear
Start with length. Conversational narration lands at about 150 words per minute, so a 30-second spot needs around 70 words and a one-minute explainer about 150. Documentary-style reads slow down to 120 to 140 words a minute; energetic ads push past 160. Paste your draft into the speech time calculator and you get the finished length before you record a word, which saves trimming a narration that runs 40 seconds over the edit.
Then rewrite for the ear. Keep sentences short, with one idea each, because a listener cannot reread a clause they missed. Spell numbers the way you will say them ("twenty-four ninety-nine", not "$24.99"), and put a line break wherever you want to breathe. Finally, read the whole script aloud once before recording. Any sentence that trips you up at the desk will trip you up on the take, so fix it now. If you want models to work from, the voice over script examples cover commercial, explainer, and e-learning reads with word counts.
Step 2: Set up a quiet spot and place the microphone
The room matters more than the microphone. Hard, bare walls bounce your voice back into the mic and make narration sound hollow, which no free editor can fully undo. A small room full of soft things, such as a wardrobe of clothes, a bedroom with curtains drawn, or a desk with a duvet hung behind the screen, sounds far closer to a booth than a large empty one.
- Kill the background noise. Switch off fans and air conditioning, close the window, and turn on Do Not Disturb so notifications don't chime mid-sentence.
- Mind the distance. Keep the microphone, or the bottom of your iPhone, 15 to 20 centimetres from your mouth. Closer exaggerates every breath; further away brings in the room.
- Aim slightly off-axis. Angle the mic a little to the side of your mouth so the air from "p" and "b" sounds passes it instead of hitting it.
- Record 10 seconds of silence. This "room tone" is what you paste into gaps later, so cuts don't drop to dead air.
A recent iPhone's built-in microphone is genuinely fine for this. A USB or lavalier microphone helps most in rooms you can't treat, because it picks up less of the room around you.
Step 3: Record while reading from a scrolling script
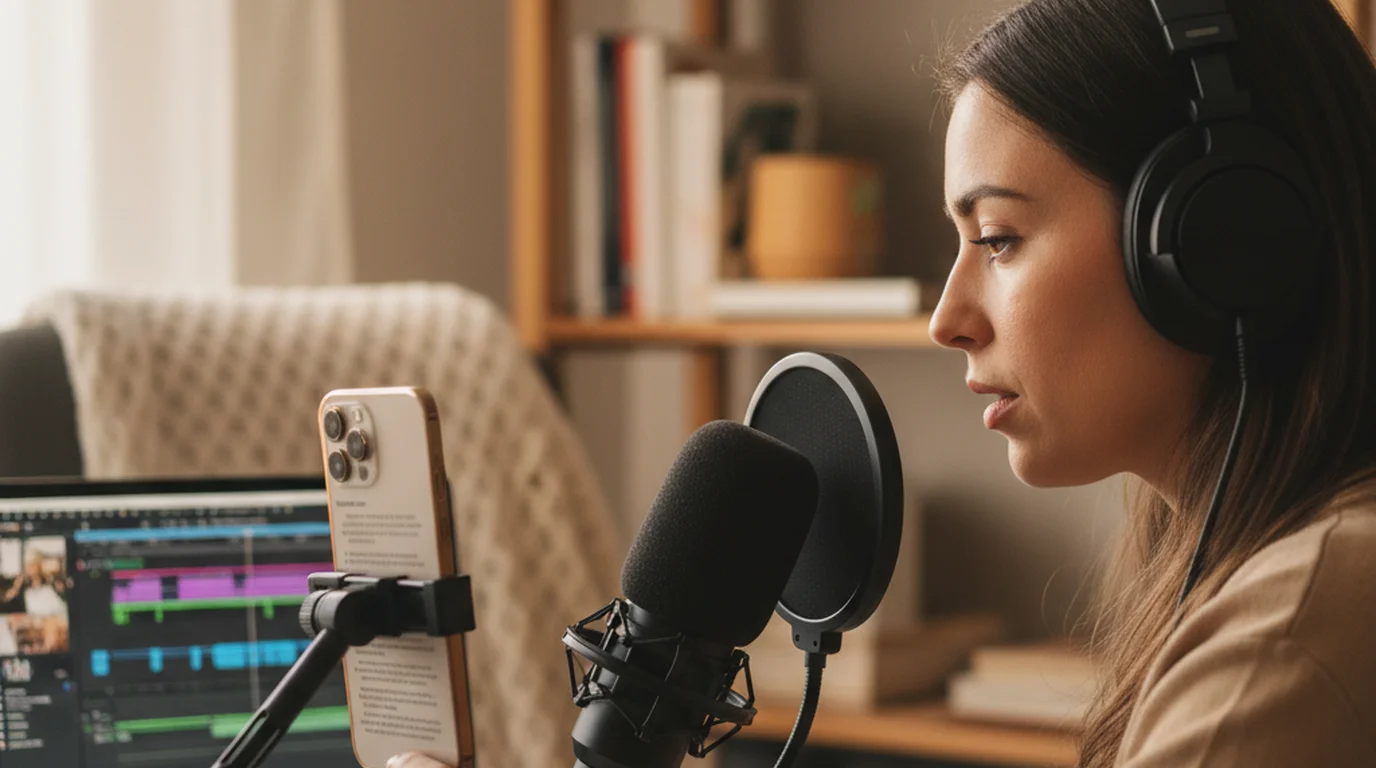
This is the step that decides whether the voiceover sounds read or spoken, and the part of how to do a voiceover that most guides skip. Most video apps have a record button for narration, but it shows your video, not your words. That leaves you reading from a second screen or a sheet of paper, glancing down and back up, and the pace drifts every time you lose your place.
Recording the narration as its own file with the script scrolling in front of you fixes both problems. In Teleprompter-Scrolling Scripts, a free teleprompter app, Voice mode does exactly that on iPhone, iPad, and Mac: it records audio only while your script scrolls at the speed you set. Set it slightly slower than you think you need, because nerves speed everyone up. When you need to go back for a retake, the up and down buttons jump the script three lines at a time, so you can rewind a sentence without stopping the recording.
Use a pickup technique instead of restarting the whole read. When you fumble a line, stop, stay silent for two seconds, and start that sentence again from its first word. The silence shows up as a flat gap in the waveform, which makes every mistake easy to find later. On our own tutorial narrations, this is the habit that saves the most editing time, because there is one file to work through instead of a dozen fragments.
Recording a voiceover as a separate audio file, with the script scrolling at a fixed pace, keeps narration consistent in a way that in-editor record buttons do not. Those buttons show the video rather than the words, so the speaker reads from a second source and loses pace at every glance. A steady scroll keeps the eyes, and the delivery, in one place.
Step 4: Edit out mistakes and even out the volume
Editing is where knowing how to do a voiceover well pays off quickly. Open the recording in any audio editor. GarageBand is free on iPhone, iPad, and Mac, and Audacity is free on Windows and Mac. Then work through it in one pass:
- Cut the flubs. Find each two-second gap, delete the failed attempt before it, and keep the clean pickup.
- Trim loud breaths, not all breaths. Narration with every breath removed sounds robotic. Lower or cut only the ones louder than the words around them.
- Fill gaps with room tone. Paste the silence you recorded in step 2 wherever a cut leaves dead air.
- Normalise the level. Bring the whole clip to one consistent loudness so the narration doesn't dip under the music or jump between sentences.
Resist heavy noise removal. A light pass helps; a strong one makes voices sound watery, and listeners notice that faster than a faint hum.
Step 5: Export in a format your editor accepts
Voice mode saves narration as an AAC audio file (.m4a), recorded in mono at 44.1 kHz, which is plenty for speech. You can send it to the Files app or through the share sheet, including AirDrop to a Mac. Most editors take .m4a directly. The one common exception is Google Slides, so convert the file to MP3 first if the voiceover is going into a Slides deck. Audacity, or GarageBand on Mac, can both export MP3.
Google Slides accepts only MP3 and WAV audio stored in Google Drive, according to Google's Docs Editors Help. Voiceovers recorded on an iPhone usually come out as AAC .m4a files, so they need converting to MP3 before they can be inserted into a Slides presentation.
How to add a voiceover in PowerPoint, Google Slides, TikTok, iMovie, CapCut, and Canva
Every app below can either record narration itself or take a file you recorded separately. Use the built-in recorder for a quick line; import your own file when the read is longer than a sentence or two.
PowerPoint
On the slide where the narration belongs, choose Insert > Audio. To use your recording, pick the audio-from-file option (Audio on My PC on Windows) and select the file. To record inside PowerPoint, choose Record Audio, name the clip, and select Record, as described in Microsoft's guide to adding and recording audio. Each clip belongs to one slide, so split a long narration into one file per slide.
Microsoft lists MPEG-4 audio with AAC encoding, the .m4a format, as the recommended audio format for PowerPoint in its supported file formats page. A voiceover exported from an iPhone as .m4a can therefore go into a slide without any conversion.
Google Slides
Upload the MP3 or WAV file to Google Drive first; Slides can't insert audio straight from your computer. Then select the slide, choose Insert > Audio, and pick the file. Select the audio icon and open its format options to choose whether it plays on click or automatically.
TikTok
After you film or upload a clip, open the editing screen and tap the voiceover (microphone) tool. Decide whether to keep the clip's original sound, then record over the video. TikTok's recorder works line by line, which suits a short caption read. For a full scripted narration, combine the audio and video in CapCut or iMovie first and upload the finished video.
iMovie on iPhone
Scroll the timeline so the playhead sits where narration should begin, tap the Add Media button, then tap Voiceover and Record. After a three-second countdown, iMovie records until you tap Stop, and lets you review, retake, or accept the clip, according to Apple's iMovie guide. A narration recorded elsewhere comes in through the same Add Media button.
CapCut
Move the playhead to the start point, open the audio tools, and choose Voiceover to record against the video. To use a file you recorded separately, import it from the same audio menu and drag it into place on the timeline. Tap the clip afterward to adjust volume or add a fade.
Canva
Canva can record narration while your design plays, and the clip is saved to your Uploads, as covered in Canva's voiceover help page. To use a separate recording, upload the audio file through Uploads and drag it onto the timeline under the pages it should play over.
How to do a voiceover on iPhone (and Mac)
On iPhone you can do the whole job on one device. The quickest route is iMovie's Voiceover button, which records straight into the timeline. The cleaner route is to record the narration first in Voice mode, where the script stays in front of you, then add the .m4a to iMovie or CapCut. The second route takes about two minutes longer and usually saves several retakes on anything longer than a few sentences.
On a Mac the workflow is the same, with a bigger screen for the script. Record in Voice mode on the Mac, edit in GarageBand if needed, and drop the file into Final Cut Pro, iMovie, or Keynote. If the voiceover is part of a narrated presentation rather than a video, the same file works in PowerPoint without conversion.
One practical tip for both: wear earphones while you play back the take. Laptop and phone speakers hide mouth clicks and room echo that a viewer with headphones will hear immediately.
Frequently Asked Questions
How to do a voiceover on iPhone?
You have two options. In iMovie, open your project, move the playhead to where the narration starts, tap the Add Media button, choose Voiceover, and tap Record. Or record the narration first in a teleprompter app's audio mode so the script scrolls while you talk, then add the audio file to iMovie or CapCut.
How can I start doing voice overs?
Start by reading scripts aloud every day and recording yourself, so you hear your pacing and mouth noise the way a listener does. A quiet room and a phone or USB microphone are enough to practise. Paid voice work needs a demo reel and a niche (see how to become a voice actor), which takes longer than learning to record a clean take.
Can Chatgpt do voice overs?
ChatGPT is useful for drafting and tightening a voiceover script, and it can read text aloud. A narration file for a video usually comes from a dedicated text-to-speech tool or from your own recording. Synthetic voices work for quick internal clips; your own voice still sounds more credible on tutorials and personal content.
Can you give me an example of a voice over?
Here is a 30-second explainer read, about 70 words: "Most budgeting apps ask you to log every coffee. This one doesn't. Connect your account once, and it sorts your spending into five categories you can actually remember. At the end of each week, you get one number: what's safe to spend. That's it. No spreadsheets, no guilt. Try it free for thirty days."
How many words is a 1 minute voiceover?
About 150 words at a natural, conversational pace. Slow, documentary-style narration runs closer to 120 to 140 words per minute, and an energetic ad read can reach 160 or more. Time your own read once and adjust the script, because the number on paper rarely matches the first take.
Do you need a microphone to do a voiceover?
Not to start. The built-in microphone on a recent iPhone records clean speech in a quiet, soft-furnished room when the phone is 15 to 20 centimetres from your mouth. A USB or lavalier microphone mostly helps in rooms with echo or background noise, because it picks up less of the room.
Should you record the voiceover before or after editing the video?
For tutorials, explainers, and slide decks, record the voiceover first and cut the visuals to it, because the narration sets the pace. For reaction clips or footage-led edits, cut the video first and record over it. Either way, recording narration as its own file makes retakes far easier.
Record it once, use it anywhere
A clean voiceover comes from three habits more than from gear: a script written to be heard, a quiet soft room, and a read where your eyes never leave the words. Record the narration as its own file, fix the mistakes in one pass, and it drops into PowerPoint, iMovie, CapCut, Canva, or TikTok with only Google Slides asking for an MP3. To read every line without looking down, record your next take with the iPhone teleprompter app in Voice mode.
Wendy ZhangWendy Zhang is the indie developer behind Teleprompter-Scrolling Scripts, which she built after cycling through teleprompter apps that were too heavy, too expensive, or dependent on a network connection to open. She writes about the mechanics of recording yourself — scroll pacing, script formatting, and the app decisions that decide whether a take survives.
Record your next voiceover from a scrolling script
Voice mode records audio while your script scrolls on iPhone, iPad, or Mac, so you can read every line without looking away to a page.
Use Free Online Teleprompter Get the Free App