How to Use Your iPhone or iPad as a DIY Teleprompter (Free, No Hardware)
 Maya Chen · July 30, 2026 · 7 min read
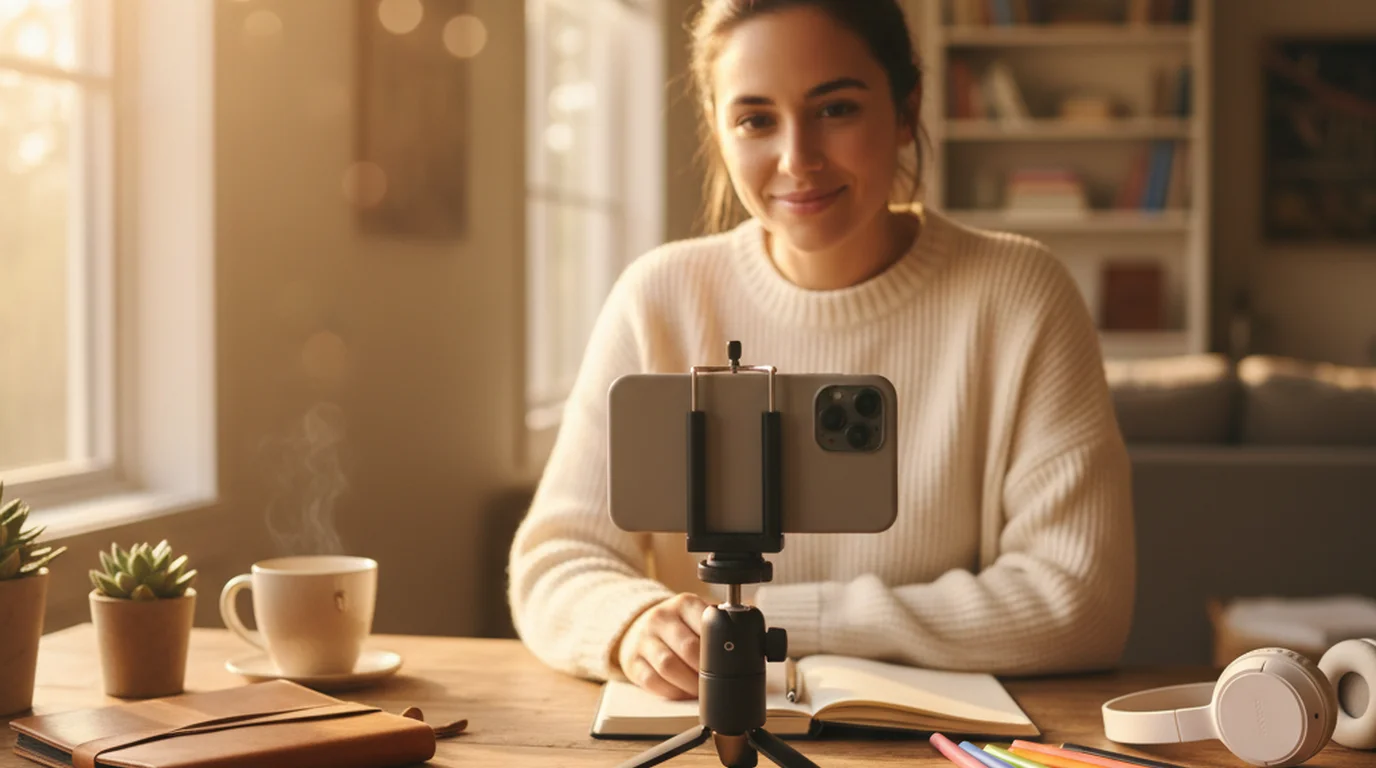
If you've ever stumbled through a talking-head video because you lost your place in the script — or looked visibly nervous because you were trying to remember the next line — a teleprompter fixes that immediately. The good news: you don't need expensive hardware. You already have everything you need. Learning how to make a teleprompter with an iPad or iPhone takes about five minutes and costs nothing.
To use an iPhone or iPad as a DIY teleprompter, download a free teleprompter app, paste your script, open Camera mode, and drag the text area near the front lens. Use Prompter mode for live speaking or when a DSLR or mirrorless camera is recording.
What you actually need (it's less than you think)
When I started filming iPhone video six years ago, I assumed a teleprompter meant buying a $200 glass rig that mounts over a DSLR lens. That's one type — a hardware teleprompter — and it only displays the script. The camera is always something else. The DIY version replaces that rig with an app on the device you already own:
- Your iPhone or iPad — already in your pocket or bag
- A free teleprompter app — handles auto-scroll and font sizing
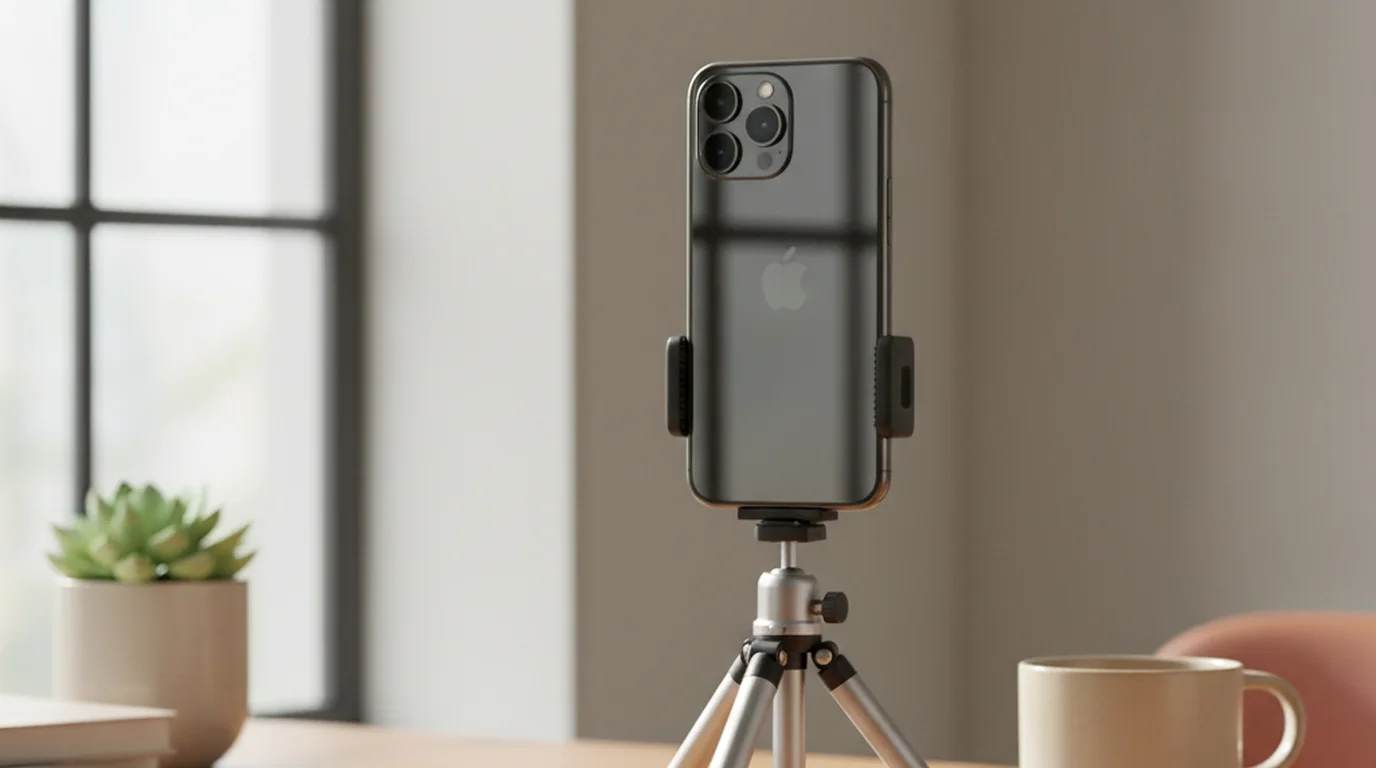
- A stand or tripod — any phone stand from Amazon ($8–$15) works fine
- Your script — pasted as plain text into the app
That covers Camera mode — one device prompts and records. Prompter mode is for when a DSLR, mirrorless camera, or live-session setup handles the picture instead.
According to a 2024 Statista survey of independent video creators, 67% film exclusively on smartphones, and fewer than 12% use dedicated teleprompter hardware. The majority rely on app-based solutions — meaning your iPhone or iPad setup is already the industry norm for solo creators.
Step-by-step: how to make a teleprompter with your iPad or iPhone
Step 1 — Download the app and create a project
Install Teleprompter-Scrolling Scripts for iPad (or the iPhone version) from the App Store, then tap + to create a new project.
Step 2 — Paste your script and set the font size
Copy your video script and paste it directly into the app's text editor. Then increase the font size to at least 30pt — at arm's length (about 50–70 cm from your face), smaller text forces your eyes to work too hard, which is what causes the tell-tale squinting look. You should be able to read 3–4 lines at a glance without moving your head.
Step 3 — Choose your mode and position the text area
Camera mode for any recording on the phone or tablet itself. The script overlays on the live view — drag the text area near the front lens so your eyes stay on the camera while you record.
Prompter mode when a DSLR, mirrorless camera, or live-session setup is doing the capturing. The script scrolls full-screen with the app camera off. Place the iPhone or iPad just below that lens, or near your laptop screen during a Zoom call — the same positioning logic as a hardware teleprompter.
Step 4 — Set your scroll speed with a test read
Before you hit record, do a 30-second test read. Start with a slow scroll speed — around 3 out of 10 — and increase until the text stays one to two sentences ahead of where you're reading. Most people speak at 120–150 words per minute on camera (slightly slower than conversational speech). The right scroll speed is the one where you never feel rushed and never have to wait for the next line.
Step 5 — Record or present
In Camera mode, tap record. The script scrolls over the live feed while you read — one device, one take.
In Prompter mode, start the scroll, then begin your separate recording or join your call. The prompter handles the lines; your camera, Zoom, or the venue handles the picture.
How to position your DIY rig for the most natural eye contact
The goal is the same in both modes: your eyes should land near the lens that is capturing you — whether that lens is on the same device or on a separate camera across the desk.
Camera mode (same device): Drag the text area near the front camera lens.
Prompter mode (hardware-style): Place the iPhone or iPad just below or beside a DSLR or mirrorless lens, or near your laptop webcam during a live call.
At more than 20 cm of horizontal offset between the script screen and the recording lens, the eyeline starts to look noticeably off-axis. Keep the gap as small as your setup allows.
A 2023 study published in the Journal of Broadcasting & Electronic Media found that viewers rated on-camera speakers as 23% more credible when they maintained consistent eye contact, versus speakers who visibly looked down at notes. A teleprompter positioned near the camera lens closes that credibility gap without requiring presenters to memorize their full script.
Tips for sounding natural when reading from a script
Knowing how to set up the hardware is one thing. Sounding like you're not reading is the skill that takes practice. After six years and 130,000+ followers of watching what works on camera, here's what actually moves the needle:
- Read the script out loud twice before recording. Not silently — out loud, at camera speed. Your mouth needs to rehearse the words, not just your eyes.
- Write short sentences. A 40-word sentence that reads fine on paper sounds exhausting on camera. Aim for sentences under 20 words. If you can't say it in one breath, rewrite it.
- Add pause marks to your script. I put a double slash // wherever I want to pause for emphasis. Pauses read as confidence on camera, not hesitation.
- Slow the scroll, not yourself. If you feel rushed, drop the scroll speed. Don't try to read faster — your audience will feel the tension.
- Blink normally. New teleprompter users forget to blink because they're concentrating. Reduced blinking makes you look uncomfortable on camera. Blink when you naturally would.
Common mistakes with DIY iPhone and iPad teleprompter setups
I've seen the same issues come up over and over in my community, and they all have easy fixes:
Font too small. If you're straining to read, your eyes are moving too fast and too visibly. Start at 30pt and go bigger if needed — most people under-size the text on their first try.
Text area too far from the lens. In Camera mode, drag the text area up, close to the front camera. In Prompter mode, place the prompter screen just below or beside the lens that is actually recording you — the same rule a hardware rig follows.
Scroll speed too fast. This is the single most common mistake. Fast scroll makes you rush your delivery, and rushed delivery sounds anxious on camera. Set the speed so you feel mildly bored waiting for the next line — that's usually the right pace.
Not doing a test run. Record 30 seconds, watch it back, check that your eyes aren't visibly tracking across the screen. Adjust position and scroll speed before committing to a full take.
Camera mode or Prompter mode?
Camera mode is the default for recording on your iPhone or iPad. The script overlays on the live camera view — drag the text area near the front lens and tap record.
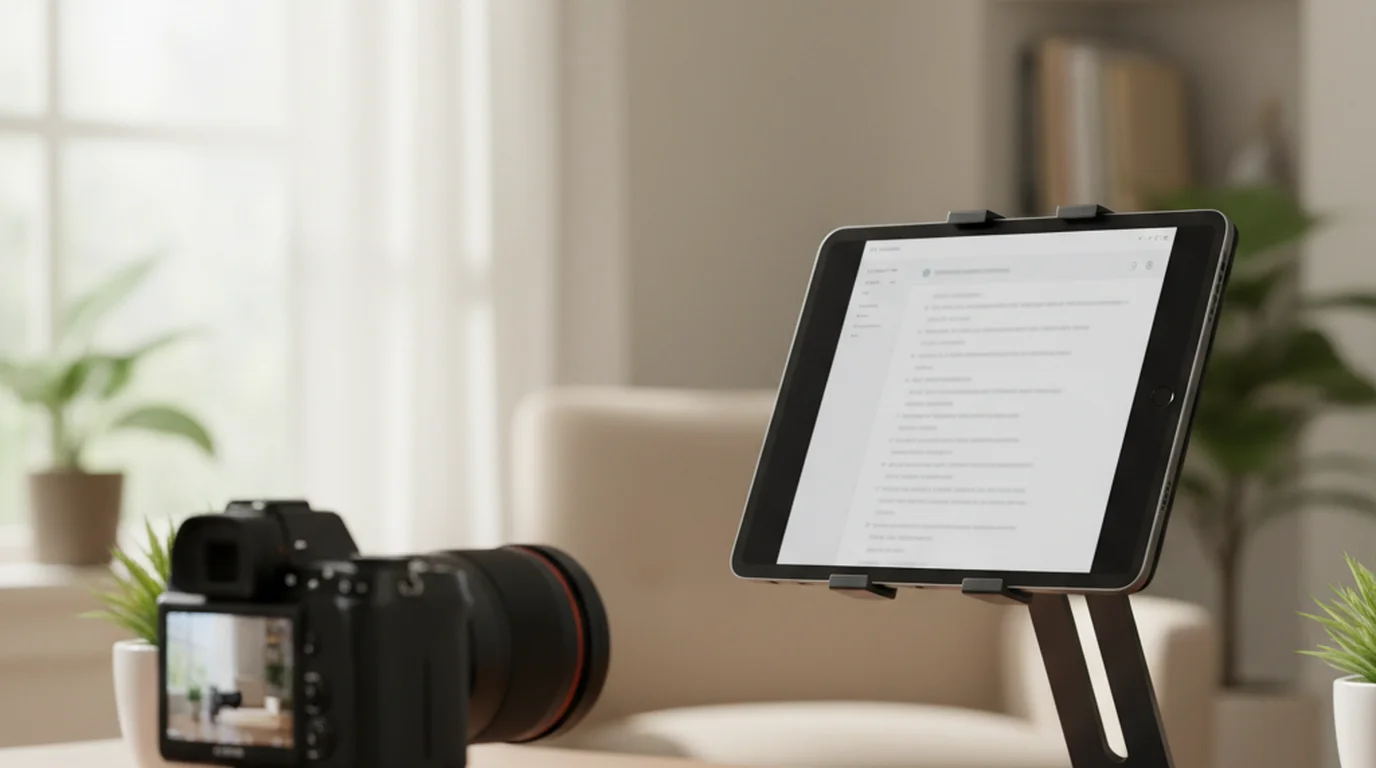
Prompter mode works like a hardware teleprompter: full-screen scrolling text, app camera off, something else handles the picture. Choose it when you are speaking live — a webinar, Zoom call, or presentation — or when a DSLR or mirrorless camera on the desk is doing the recording. For cinema-style framing, I run Prompter mode on my iPad with a mirrorless camera mounted behind it: the iPad scrolls the script, the camera captures the shot.
Frequently Asked Questions
How do I turn my iPad into a teleprompter?
Download a free teleprompter app, paste your script, open Camera mode, and drag the text area near the front lens. Use Prompter mode for live speaking or when a DSLR or mirrorless camera is recording.
What is the best free teleprompter app for iPad?
Teleprompter-Scrolling Scripts is free on iPad with no subscription required. It supports adjustable scroll speed, large font sizes, and a camera overlay mode so you can read your script while the front camera records — all without leaving the app.
How to use iPad Pages as a teleprompter?
Open your script in Pages, increase the font to 60pt or larger, enable full-screen view, and manually scroll using a Bluetooth remote or a second finger while recording on a separate camera. This is a workaround — a dedicated teleprompter app gives you auto-scroll and speed control, which Pages cannot do.
How to flip an iPad for a teleprompter?
If you are using a beam-splitter hardware rig, the teleprompter app handles the text flip automatically with a mirror mode setting. For a standard DIY setup without hardware, there is no need to flip — just position your iPad screen facing you with your camera pointing at your face, and read normally.
Do I need a teleprompter mount or special rig?
No. A basic phone or tablet stand is all you need for a DIY iPhone or iPad teleprompter setup. The only time you need a dedicated mount is if you want the glass beam-splitter effect where text appears to float in front of the camera lens — that setup requires separate hardware.
Can I use my iPhone as a teleprompter while recording on the same device?
Yes. Teleprompter apps with a camera overlay mode let you read your scrolling script while the front camera records simultaneously. The script appears over the camera view, so you can maintain eye contact with the lens without switching between apps.
How do I avoid looking like I am reading from a teleprompter?
Set your scroll speed slower than you think you need — most creators rush the first few takes. Drag the text area near the lens — in Camera mode, close to the front camera; in Prompter mode, close to your recording camera. Practice the script twice before recording so the words feel familiar. Pausing briefly at punctuation marks also makes delivery sound more natural.
What scroll speed should I use for a DIY teleprompter?
Most people speak at 120–150 words per minute on camera. Start at a slow scroll speed — around speed 3 out of 10 in most apps — and increase until the text stays one to two sentences ahead of where you are reading. Do a 30-second test read before recording your full take.
Maya ChenMaya Chen is a content creator who films on iPhone and coaches solo creators on mobile-first video production for TikTok, Reels, and Shorts. Her work focuses on the part most people skip: how to actually sound natural once the camera is rolling.
Turn Your iPhone or iPad Into a Teleprompter — Free
Teleprompter-Scrolling Scripts is the free app that powers your DIY setup. Load your script, set your scroll speed, and start recording with natural eye contact. No hardware required beyond the device you already own.
Use Free Online Teleprompter Get the Free App