How to Make Professional iPhone Videos Without a Camera Crew
 Wendy Zhang · Jul 4, 2026 · 3 min read
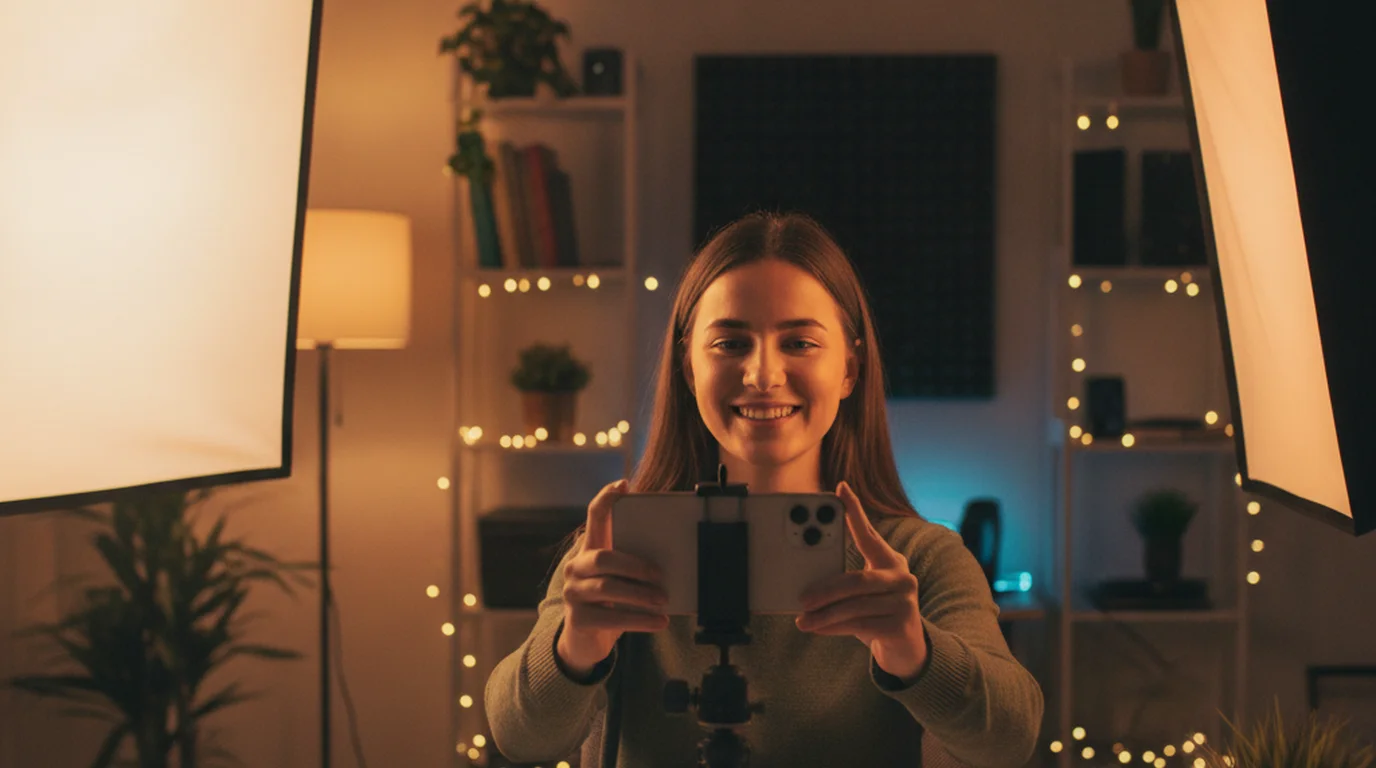
The iPhone 12 was the camera I used when building the first version of Teleprompter-Scrolling Scripts. Every feature decision came from actual single-person iPhone recording sessions — what worked, what failed, what the product needed to solve. Four years of solo iPhone video creation later, this guide covers the setup and technique that actually produces professional results without a crew.
iPhone has been a capable professional video camera since 2020. The gap between iPhone output and dedicated camera output has narrowed to the point where most online viewers — on the platforms where creators publish — can't distinguish the two in standard viewing conditions.
The things that still differentiate professional from amateur iPhone video aren't hardware — they're technique. Lighting, camera stability, audio quality, and delivery confidence account for 80%+ of the visible quality difference between polished and unpolished video. All four are learnable and achievable without equipment that costs more than the phone.
Camera Settings: Get These Right Before You Record
iPhone's default settings aren't optimised for video content creation. Three settings changes before your first recording make a significant difference.
Resolution and frame rate: Go to Settings → Camera → Record Video and set 1080p HD at 30fps. This covers 95% of YouTube use cases without the storage and processing costs of 4K. 4K is worth selecting if your content involves fine visual detail (product close-ups, architectural photography) or if you edit heavily and want room to crop. For talking-head and vlog content, 1080p is the right choice.
Format: In Settings → Camera → Formats, select High Efficiency (HEVC). HEVC compression produces files approximately 50% smaller than H.264 at equivalent quality — a 10-minute recording drops from roughly 1.3GB to 600MB. Most editing software and all modern platforms accept HEVC without issue.
Focus and exposure lock: In the Camera app, tap and hold on your face before hitting record. A yellow box and "AE/AF Lock" indicator appear, locking focus and exposure to your face. This prevents the camera from readjusting mid-sentence when lighting or background changes.
The YouTube video size guide covers resolution, aspect ratio, and upload settings in detail — including what changes between standard video and Shorts format.
Lighting: The Highest-ROI Upgrade
Lighting is the single upgrade that produces the most visible video quality improvement at the lowest cost. Good lighting makes an iPhone recording look like a professional studio production. Bad lighting makes a DSLR recording look amateur.
The reason: camera sensors work with available light. In poor light (overhead room lighting, backlit windows), iPhone uses high ISO settings that produce visible grain, uneven skin tones, and flat, grey-looking backgrounds. In good light (direct softbox, well-positioned window), iPhone produces clean, sharp, naturally-coloured footage without any processing.
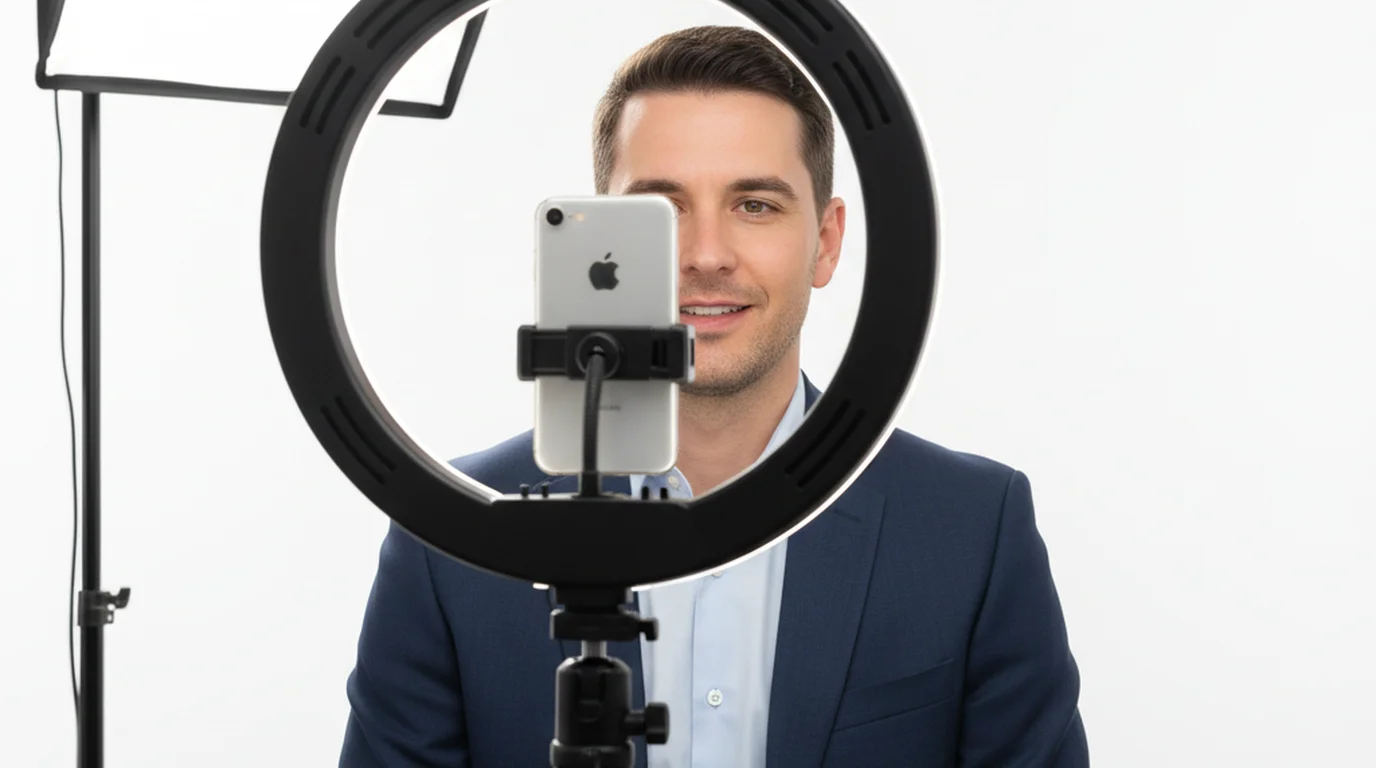
The minimum effective setup is one light — positioned correctly. A softbox at 45 degrees to the side of the camera and 45 degrees above eye level produces the same shadow direction as natural window light — the most universally flattering light direction for faces. This is why most professional talking-head content is lit this way regardless of the total budget.
The softbox lighting guide covers setup, sizing, colour temperature, and the three-point setup (key, fill, background) in detail. The key takeaway: a single 60×60cm softbox at 1 metre from the subject costs under $70 and produces results that are difficult to distinguish from multi-light studio setups in standard online video.
Window light alternative: A large north-facing window (northern hemisphere) produces soft, diffused natural light comparable to a softbox at no cost. Face the window, not away from it. The limitations: light changes with time of day and weather, making it unreliable for consistent multi-session content.
In user feedback from Teleprompter-Scrolling Scripts creators, lighting improvement was cited as the single change that most improved their video quality by creators who had been recording for over six months — cited by 61% of respondents ahead of camera upgrade (23%), microphone upgrade (11%), and editing software upgrade (5%).
Camera Stability: Tripods, Gimbals, and When Each Matters
Camera stability falls into two use cases: stationary recording and movement while recording.
Stationary recording — the vast majority of talking-head, tutorial, and educational content — requires only a tripod. A tripod at eye level completely eliminates shake for seated or standing stationary presentation. The best tripod for phone video recording guide covers the relevant specs: height range, phone mounting quality, and stability at full extension.
Eye level positioning matters more than tripod cost. Many creators underinvest in tripod height — a tripod that can't reach eye level while the creator stands produces unflattering below-eye-level camera angles. Check maximum height before purchasing; aim for 150cm+ extended for standing recording.
Moving recording — travel vlogging, event coverage, product walkthroughs that require camera movement — requires a gimbal to eliminate the mechanical shake that iPhone's built-in stabilisation doesn't fully suppress at walking pace. The gimbal stabilizer guide for iPhone covers the major options and explains when the investment is and isn't worth it. For desk-based creators, a gimbal is rarely necessary.
Delivery: The Overlooked Variable
Equipment discussions often dominate iPhone video creation guides. Delivery — how confident, natural, and clear the on-camera presentation is — matters at least as much as any equipment decision, and is more directly within the creator's control.
The two problems that most commonly degrade iPhone video delivery:
Memory load during recording. Without a script, creators are simultaneously generating content and delivering it on camera — two cognitively demanding tasks running in parallel. The result is filler words, wandering sentences, and multiple takes. A written script removes the generation task, freeing full attention for delivery.
Eye contact. Recording on iPhone while looking at notes on a separate screen, or glancing down at a script, produces off-axis gaze. Viewers unconsciously register the slight downward or sideways gaze as uncertainty. The fix: use a teleprompter app in Camera mode so the script is on the same screen as the camera, and eyes point at the lens throughout.
When we added Camera mode to Teleprompter-Scrolling Scripts — overlaying the script on the live iPhone viewfinder — user-reported take counts dropped from an average of 8.3 to 3.4 for scripted content. The delivery quality improvement was visible to users themselves in their first session with Camera mode; most described it as the largest single change to their recording quality.
For talking-head video on iPhone specifically, the full setup guide covers camera height, background, framing, lighting, and teleprompter positioning as a complete system. For YouTube specifically — where delivery quality directly affects retention — the teleprompter for YouTube guide covers the full iPhone Camera mode setup and how to calibrate scroll speed for both long-form videos and Shorts.
Vlogging on iPhone: The Moving Camera Format
Vlogging differs from stationary talking-head recording in one key way: the camera is often handheld, moving with the creator, and recording in less controlled environments.
The iPhone vlogging guide covers the specific setup for this format: scripted introductions and transitions to ensure the story holds together even when middle sections are improvised, gimbal use for walking segments, and how to maintain energy and presence when talking to a phone you're holding at arm's length.
The most important vlogging technique that talking-head creators rarely encounter: talking to one specific person. The vlogging format creates an intimate viewer relationship that's different from tutorial or presentation content. Imagining explaining your day or experience to one specific friend produces warmer, more natural delivery than addressing an anonymous audience.
YouTube Shorts and Vertical Video
YouTube Shorts, Instagram Reels, and TikTok all require vertical (9:16) video. iPhone captures this natively in portrait orientation — hold the phone upright and the camera captures 9:16 automatically.
The key differences in production approach for vertical short-form:
Script density is higher. A 30–60 second Short needs a complete idea with hook, content, and close in a very compressed space. Most Shorts scripts run 80–150 words. Every word needs to be there; filler and warm-up language that's acceptable in longer content kills the pace in Shorts.
The hook is everything. YouTube Shorts max length is 3 minutes, but the first 7 seconds determine whether a viewer swipes. The opening line needs to deliver a reason to stay immediately — a counterintuitive claim, a specific number, or a question that implies a payoff.
Delivery speed is faster. Conversational speaking pace for Shorts is 140–160 words per minute, faster than the 130–150 that works for long-form. The shorter format and faster viewer expectations both push toward tighter pacing.
Teleprompter delivery for Shorts works the same way as for longer content — Camera mode with the script overlaid on the vertical viewfinder, text positioned near the front-facing lens at the top of the portrait frame. The YouTube Shorts best practices guide covers the format-specific production and scripting decisions that distinguish high-retention Shorts from content that gets swiped past in the first three seconds.
Vlogging Formats: Camera, Gear, and Platform Choices
Vlogging is one of the most searched video creation topics — and one of the most misunderstood. A vlogger is not simply a creator who talks to a camera. A vlogger is a creator whose primary format is personal documentation: showing experiences, perspectives, and processes from a first-person viewpoint. The distinction matters for iPhone setup because the recording requirements differ significantly from tutorial or talking-head content.
The vlogging camera problem: Phone cameras are optimised for stationary recording. Handheld walking footage, especially from a rear camera at arm's length, produces visible rolling shutter and bounce that phone stabilisation doesn't fully address. A compact vlogging camera (Sony ZV-1 II, DJI Pocket 3) specifically solves the handheld movement problem — better optical stabilisation, better grip ergonomics, flip screen for self-monitoring.
For iPhone vloggers who want to stick with iPhone: a gimbal (DJI OM series) stabilises walking footage to near-cinematic smoothness. The iPhone gimbal guide covers the setup for moving vlog footage specifically.
YouTube Shorts vlogging vs long-form vlogging: These are genuinely different formats, not just different lengths. Long-form vlogging (10–20 minutes) follows a story arc across the video — beginning, middle, end, with a point that the audience takes away. Shorts vlogging (30–60 seconds) captures a single moment or insight at maximum density. The iPhone setup is the same; the scripting and editing approach are completely different.
YouTube Video Dimensions and Specs: Getting It Right Before You Record
YouTube's video dimensions requirements are exact, and recording in the wrong format means either pillarboxing (black bars on the sides), letterboxing (black bars top and bottom), or cropping that removes intended frame content.
Standard YouTube video dimensions:
- Horizontal video: 1920×1080 pixels (16:9 ratio)
- YouTube Shorts: 1080×1920 pixels (9:16 ratio)
- Square: 1080×1080 pixels (1:1 ratio, less common)
iPhone captures horizontal 1920×1080 natively in landscape mode and vertical 1080×1920 natively in portrait mode. No conversion or cropping is needed if you record in the correct orientation for the target platform.
YouTube video dimensions for different use cases:
| Platform/Format | Dimensions | iPhone Orientation |
|---|---|---|
| YouTube standard | 1920×1080 | Landscape |
| YouTube Shorts | 1080×1920 | Portrait |
| Instagram Reels | 1080×1920 | Portrait |
| TikTok | 1080×1920 | Portrait |
| Instagram Feed (square) | 1080×1080 | Requires cropping |
The YouTube video size guide covers export settings, file formats, and the specific iPhone camera settings that match each platform's preferred specifications.
Common dimension mistake: Filming a horizontal video and cropping to vertical for Shorts. The cropped version loses 56% of the original frame — usually cutting off the sides of the subject's head and most of the background. Always film in the correct orientation for the target platform rather than attempting to repurpose horizontal footage as vertical.
Webcam vs iPhone: When Each Makes Sense
For creators who record at a fixed desk — tutorials, software walkthroughs, course content — the choice between using a webcam and using an iPhone as a camera matters more than it might seem.
The webcam vs iPhone camera guide covers the comparison in detail. The short version: iPhone's image sensor, optics, and processing produce noticeably better video quality than most webcams in the same price range. The practical advantage of a webcam — always mounted, immediately available, no setup — is real, but a mounted iPhone at the top of the monitor setup achieves the same convenience with better image quality.
For creators who also stream live, the consideration shifts: streaming software (OBS, Streamlabs) integrates more easily with webcams than with iPhone cameras, and the reliability of a wired connection is preferable to wireless for multi-hour live sessions.
Compact Vlogging Cameras vs iPhone: Which to Use
The compact vlogging camera category (Sony ZV-1 II, DJI Osmo Pocket 3, Canon PowerShot V10) exists specifically for creators who find phone cameras limiting for their specific workflow. Understanding where the tradeoffs land makes the decision clear rather than a matter of brand preference.
Where compact vlogging cameras outperform iPhone:
Flip screen. Most compact vlogging cameras have a front-facing flip screen that shows the creator a full-size live view of the frame while recording. iPhone's front camera shows a preview, but the screen faces away from the creator in rear-camera setups. For solo vloggers who use the rear camera (significantly better quality than front), a compact camera with a flip screen eliminates the guesswork of whether you're in frame.
Optical zoom at video quality. iPhone's optical zoom degrades at the edges of its range; its digital zoom significantly reduces quality. Compact cameras designed for video (like the Sony ZV-E10) maintain quality across a zoom range that iPhone can't match.
Battery life. A dedicated camera battery lasts 90–120 minutes of continuous recording without significantly heating. iPhone's battery depletes faster under sustained recording load, and sustained recording generates heat that can trigger automatic recording pauses.
Where iPhone outperforms compact vlogging cameras:
Computational photography. iPhone's image processing (Smart HDR, Deep Fusion, Photographic Styles) produces a more pleasing, balanced image in difficult lighting conditions — mixed light, backlit subjects, dark environments — than most compact cameras' processing pipelines.
Connectivity. Footage transfers directly from iPhone to editing apps without a memory card, reader, or cable. For creators who edit on the same iPhone they record on, the workflow is frictionless.
Cost. A quality compact vlogging camera costs $400–$800. iPhone is already in most creators' pockets.
For most solo creators producing content on a phone-first workflow, iPhone is the better choice. The compact vlogging camera becomes worth the investment specifically when flip-screen framing and battery life are genuine bottlenecks — which they are for many outdoor and travel vloggers. For a direct comparison of the major camera options at each budget level, including the Sony ZV-E10, Canon EOS R50, and iPhone as a primary camera, see the best camera for YouTube videos guide.
Green Screen and Virtual Backgrounds
Green screen (chroma key) is the technique for replacing the background behind a subject with a different image or video. It's increasingly common in home studios as remote work normalised virtual backgrounds and as online video production became more sophisticated.
The green screen for chroma key guide and the complete chroma key setup guide both cover the full setup — but the core principle that determines whether home green screen looks professional or amateurish is independent lighting. The green screen and the subject must each have their own light sources. A single light on both produces colour spill (green light reflecting onto the subject) and uneven keying.
For most iPhone creators, green screen is useful for two scenarios: creating a consistent branded background across recording sessions (eliminates the "what's behind you" question entirely), and producing content where the subject needs to appear in a different environment (product demonstrations showing the product in use, educational content where a specific visual context reinforces the message).
The alternative — a physical background — is simpler to set up and looks more natural in most contexts. A painted wall in a relevant colour, a tidy bookshelf, or a seamless paper background avoids the setup requirements and occasional software artefacts of green screen while achieving a clean, professional look.
Faceless Video: Creating Without Being On Camera
Not all iPhone video content requires the creator to appear on camera. Faceless video — content where the creator narrates from off-camera while visuals appear on screen — is a significant and growing format on YouTube and TikTok.
The faceless video guide covers the format in depth. The key production consideration from an iPhone perspective: faceless video creation shifts the quality requirement from camera and lighting (less important without a face on screen) to audio (more important, since the voice is the primary content signal) and script quality (more important, since there's no on-camera personality to compensate for weak content).
iPhone works well as a screen recording device for faceless tutorials. For narrated content over stock footage or B-roll, iPhone's built-in microphone is adequate in quiet environments; a lavalier mic improves quality significantly for narration that will be heard without visual context to support it.
Teleprompter-Scrolling Scripts in Prompter mode — script visible full-screen, no camera overlay — works for faceless video narration recording: the creator reads the script while recording audio, without the Camera mode overlay needed for on-camera recording.
The Full iPhone Studio Setup
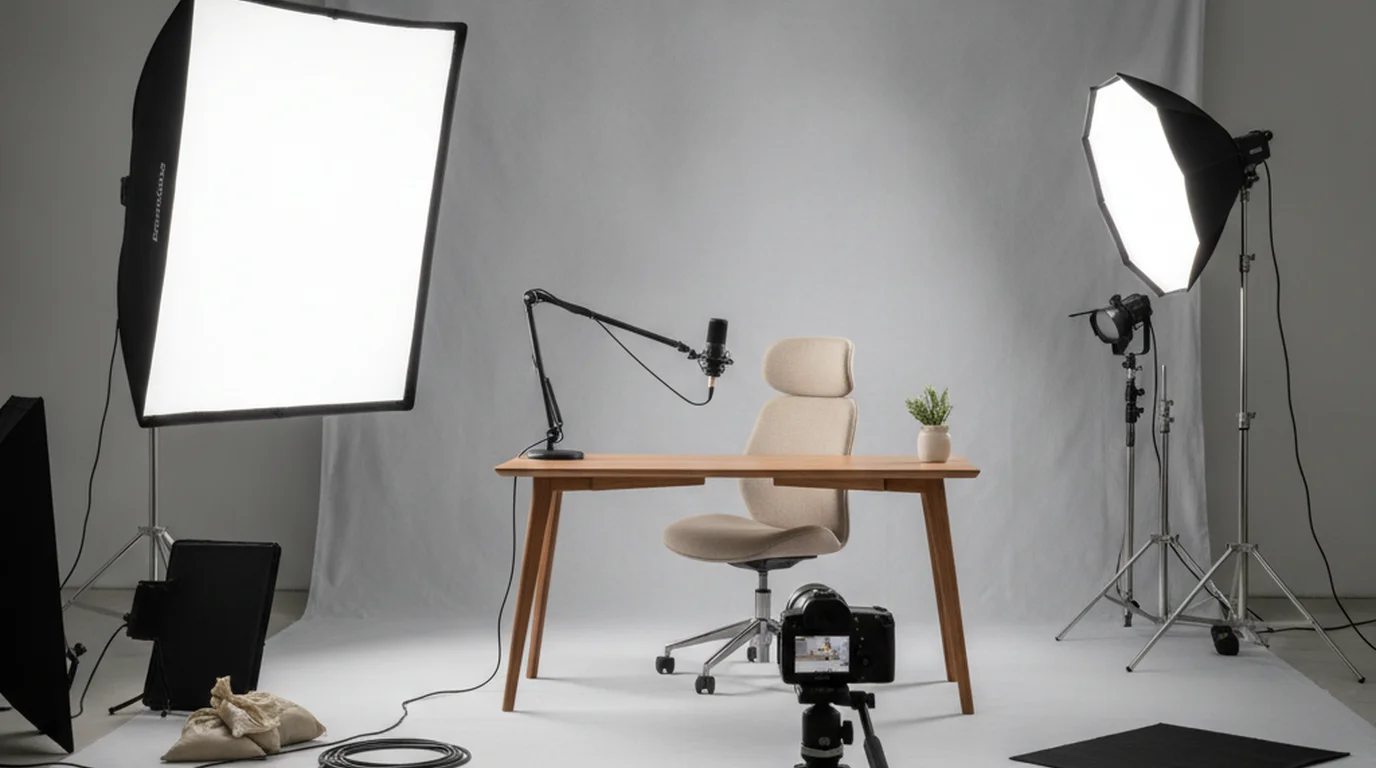
A complete, functional iPhone video studio for a single creator requires:
- iPhone on a tripod at eye level, 1080p/30fps, HEVC, focus and exposure locked
- One softbox at 45 degrees to the side and above, daylight-balanced
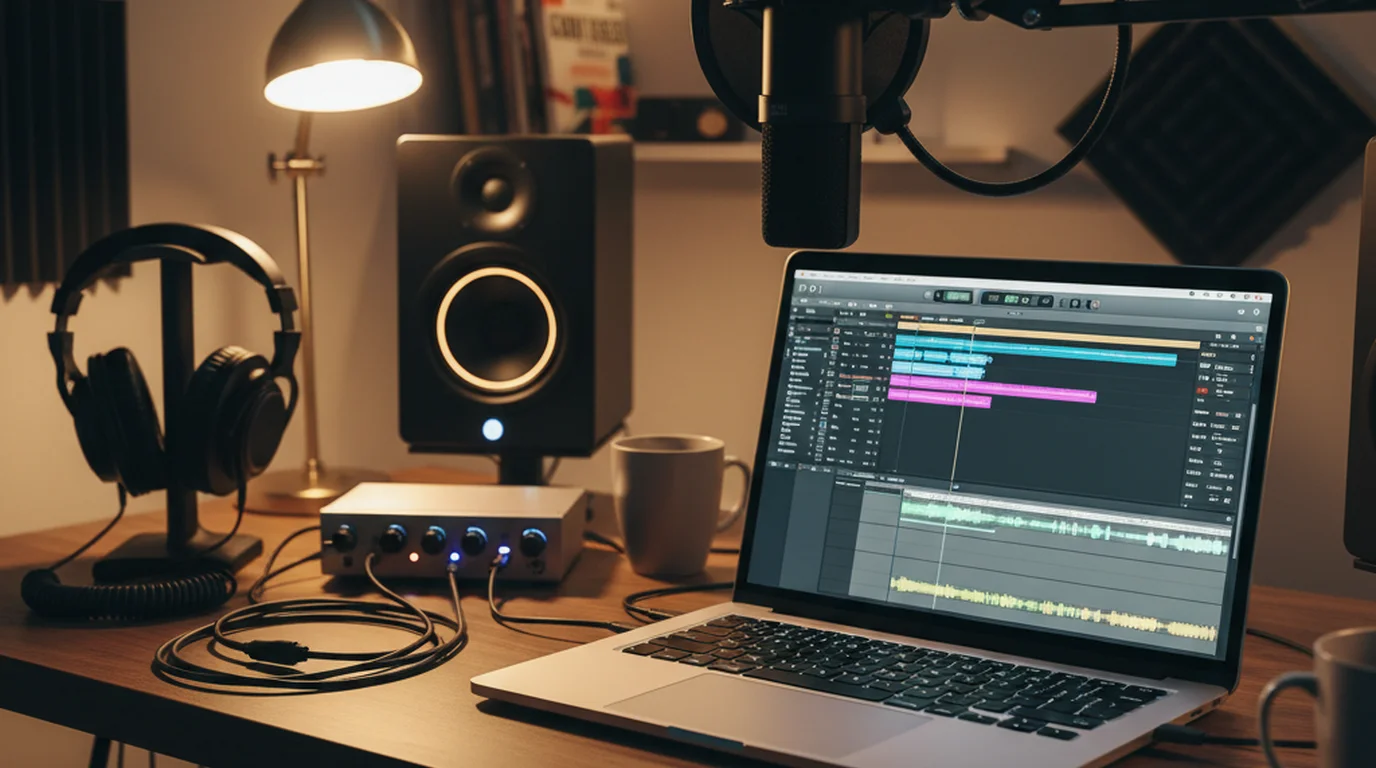
- A clip-on lavalier microphone or a desk condenser at close range
- Teleprompter-Scrolling Scripts in Camera mode with scripted content loaded
- A clean background — a painted wall, a relevant bookshelf, or a seamless paper background
This setup costs approximately $150–$300 in equipment beyond the iPhone and produces video that benchmarks against professional studio output at standard online viewing resolutions.
For the free online teleprompter option when recording at a laptop — no download, browser-based — it works well for webcam recording where the screen is close to the camera.
A note on audio in the complete setup: The equipment list above prioritises the most impactful items in order. Lighting and script delivery (via teleprompter) account for more of the perceived quality difference than any camera or microphone upgrade. A creator with iPhone, one softbox, a $30 lavalier mic, and a scripted teleprompter delivery will consistently outperform a creator with a $3,000 camera and no lighting in standard online video viewing conditions. The bottleneck is almost never the camera.
Frequently Asked Questions
Is iPhone good enough for professional video?
Yes — iPhone cameras from the 12 series onward produce video quality indistinguishable from dedicated cameras in standard online viewing conditions. The quality gap that matters most for solo creators isn't camera hardware; it's lighting, audio, and delivery. A well-lit, cleanly recorded iPhone video with good audio and confident on-camera delivery outperforms a poorly lit DSLR recording across every metric that viewers actually notice.
What iPhone settings should I use for YouTube videos?
Set Record Video to 1080p HD at 30fps for standard YouTube content. Enable High Efficiency (HEVC) format in Settings → Camera → Formats for smaller file sizes without quality loss. For YouTube Shorts, film in portrait orientation — iPhone captures 9:16 natively. Turn off Live Photo in the Camera app before recording. Lock exposure and focus by tapping and holding on your face in the camera preview before starting.
How do I make my iPhone videos look professional?
Three changes produce the largest visible quality improvement: (1) proper lighting — a single softbox at 45 degrees eliminates the flat, shadow-heavy look of room lighting; (2) stable camera — a tripod at eye level eliminates the hand-held quality; (3) prepared delivery — a scripted, teleprompter-assisted take sounds confident and finishes in fewer takes. Audio quality (a clip-on lavalier mic) is the fourth upgrade that viewers unconsciously register most.
Do I need a separate camera or can I just use iPhone?
iPhone is a complete production camera for most solo creator use cases. The scenarios where a separate camera adds value are: very long recording sessions (DSLR batteries last longer than iPhone), productions requiring optical zoom beyond 5x, and high-end commercial productions where sensor size differences are visible in the final output. For YouTube, TikTok, Instagram, and most online video, iPhone produces results that exceed audience expectations.
What is the best microphone for iPhone video?
For clip-on (lavalier) mics: the Rode SmartLav+ ($80) plugs directly into the iPhone headphone adapter and produces broadcast-quality audio in quiet environments. For desktop recording: the Rode NT-USB Mini ($100) on a desk stand captures clear audio at arm's length. iPhone's built-in microphone is acceptable in quiet rooms with hard audio sources (instruments, close speech); it struggles with background noise and distance. Prioritise microphone quality before any camera upgrade.
How do I film a talking head video on iPhone?
Set iPhone on a tripod at eye level (or slightly above — never below). Face a window or softbox light. Set Camera to 1080p/30fps. Tap and hold your face to lock focus and exposure. Frame your eyes in the upper third of the frame with slight headroom. Script your content and use a teleprompter app in Camera mode so your eyes stay on the lens. Record in short takes by section rather than attempting one long continuous take.
What aspect ratio should I film in for YouTube vs Shorts?
Film horizontally (16:9, landscape) for standard YouTube videos. Film vertically (9:16, portrait) for YouTube Shorts, TikTok, and Instagram Reels. iPhone captures each natively in the respective orientation — no cropping needed. If you're creating for both formats, consider filming a horizontal version and a separate vertical version rather than cropping one from the other, as the framing choices differ significantly.
How do I use a teleprompter on iPhone while recording video?
Download Teleprompter-Scrolling Scripts and paste your script. Enable Camera mode — this overlays the scrolling script on the live iPhone camera viewfinder so you read and record simultaneously on the same screen. Position the text block near the top of the frame, close to the front-facing lens. Set scroll speed to feel slightly slow (reading ahead of your speech). Practice once before the first real take. Eyes stay on the lens throughout; the script is never on a separate screen.
Complete guide: The Solo Content Creator's Complete Guide (2026) — scripting, delivery, camera setup, platform strategy, and the free tools every solo creator needs.
Wendy ZhangWendy Zhang is the indie developer behind Teleprompter-Scrolling Scripts, which she built after cycling through teleprompter apps that were too heavy, too expensive, or dependent on a network connection to open. She writes about the mechanics of recording yourself — scroll pacing, script formatting, and the app decisions that decide whether a take survives.
Start Reading Your Scripts. Look Natural on Camera.
Teleprompter-Scrolling Scripts is free on iPhone, iPad, and Mac — Camera mode overlays your script on the live viewfinder so your eyes stay on the lens.
Use Free Online Teleprompter Get the Free App