Teleprompter for Mac
Yes, there is a free teleprompter for Mac. Teleprompter-Scrolling Scripts runs natively on macOS and supports Prompter mode for reading scripts during Zoom calls and live sessions, as well as Camera mode for recording desk video with the script overlaid on the webcam feed — no account or subscription required.
Why Mac is a powerful teleprompter platform
Mac is where most desk-based creators, educators, and professionals already work. The camera is built in, the screen is large, and the workflow for recording or going live is already established. Adding a teleprompter to that setup does not require extra hardware — it is a software layer on top of what is already there.
The Mac's screen size also makes eye-line management easier than on a phone. You have enough room to position a text area close to the webcam at the top of the screen without making the text tiny or forcing your eyes to travel far from the lens. For anyone who records regularly at a desk, a native Mac teleprompter app reduces setup friction to near zero: open the script, start the scroll, record.
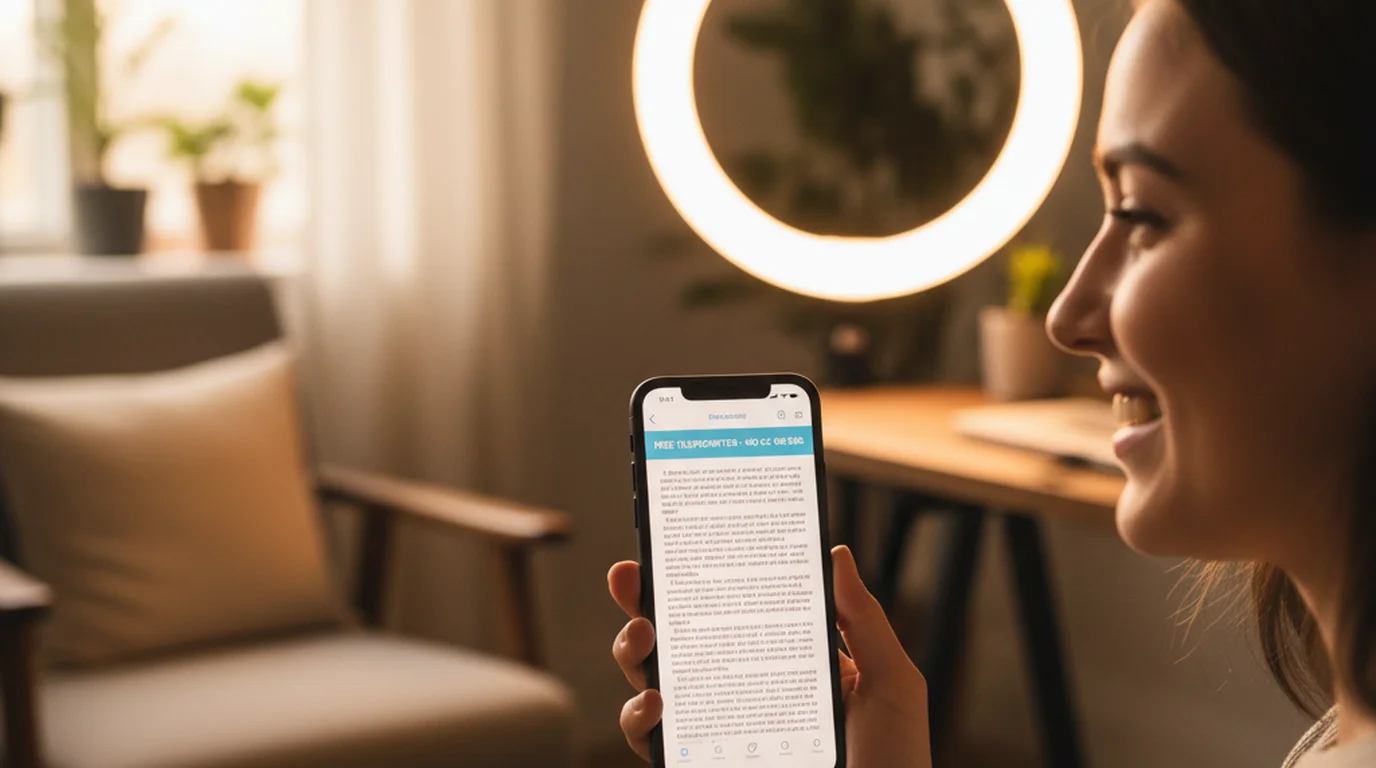
Zoom interviews and video calls: using Prompter mode on Mac
Prompter mode on Mac does not activate the camera or microphone. It shows only the scrolling text as a full-screen or windowed overlay. This means you can run Teleprompter-Scrolling Scripts in Prompter mode while Zoom controls the camera — the two apps do not conflict.
For Zoom calls, the best setup is to position the Prompter mode text window near the top of the screen, as close to the webcam as possible. When you read from the top of the screen, your eyes are near the camera lens, and you appear to be making direct eye contact with the other participants. Reading from the middle or bottom of the screen creates an obvious downward gaze that reads as distraction or disengagement.
Use short, punchy bullet-point scripts for Zoom rather than dense paragraphs. Calls feel more natural when there are pauses, reactions, and digressions — the script should support the conversation, not replace it. A teleprompter on a Zoom call works best as a safety net for key points rather than a word-for-word read.
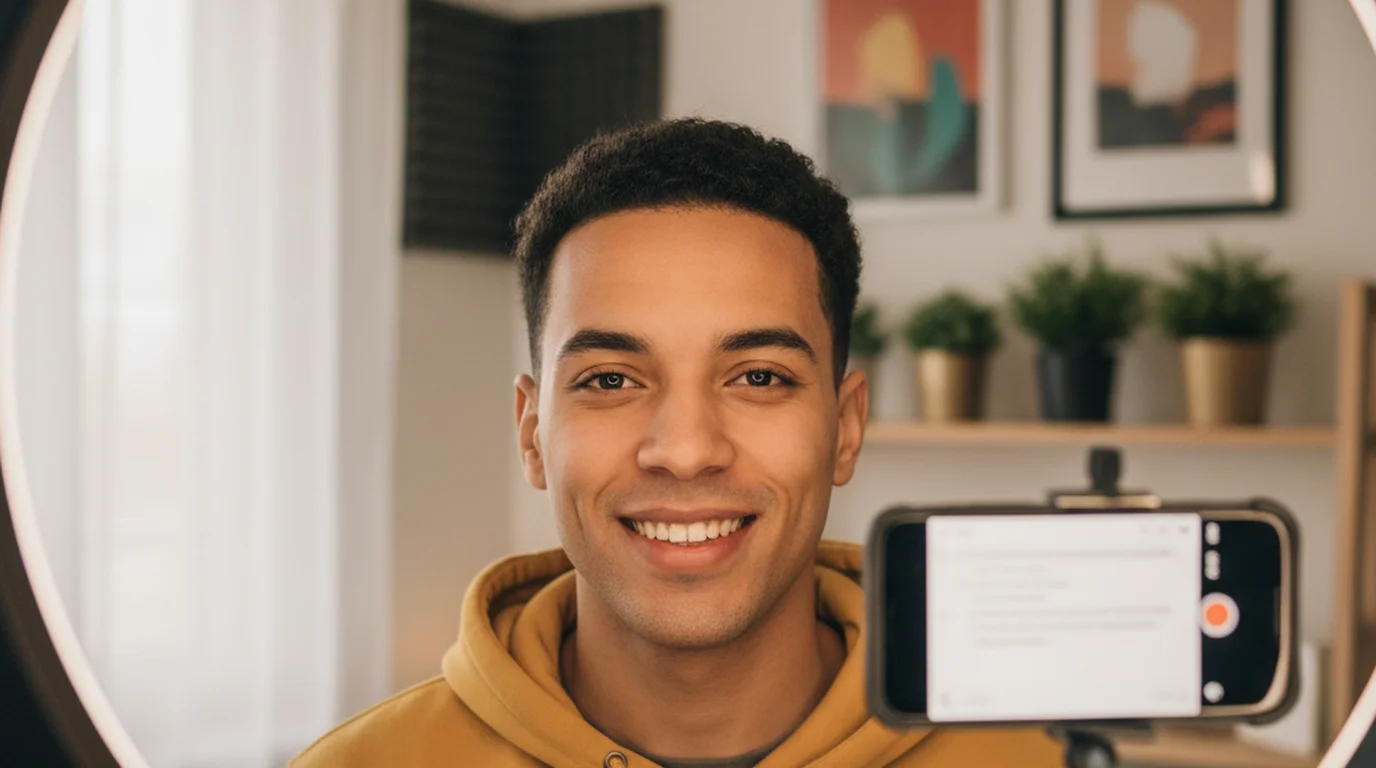
Desk recording and YouTube: Camera mode on Mac
Camera mode on Mac opens the built-in webcam and overlays the scrolling script on the live camera view. The recorded video is saved locally. You record and read inside the same app without switching between a recording tool and a separate script window.
For YouTube desk recordings, the standard approach is to position the text area at the top of the camera frame, close to the webcam, and keep it two to three lines tall. A narrower text column — centered rather than full width — reduces eye movement and makes the reading less visible. Adjust scroll speed before recording until it matches your natural speaking pace, then record a short test segment before the full take.
Camera mode supports any camera recognized by macOS. If you use a connected webcam or external camera instead of the built-in one, select it from the camera list in Camera mode. The script overlay and recording controls work the same way regardless of which camera is active.
Webinars and online courses: Mac teleprompter setup
Webinars and online courses share one characteristic that makes a teleprompter especially valuable: the content is long and the delivery needs to feel authoritative, not improvised. Reading from a well-prepared script — while appearing to speak naturally — is the difference between a polished course module and a rambling recording that needs heavy editing.
For webinars where you are presenting live and another application handles the broadcast, use Prompter mode. The script scrolls in the foreground while the webinar platform runs in the background. Keep the text area near the top of the screen close to the camera, set the scroll speed to match your presentation pace, and advance or pause manually at natural transition points.
For pre-recorded course videos, Camera mode is more efficient. You record and read in a single session, and the file is ready for editing or upload immediately after. Long course modules benefit from breaking the script into topic sections — record each section as a separate take rather than trying to get a 20-minute module in one continuous recording. This makes editing easier and reduces the impact of individual mistakes.
MacBook vs. desktop Mac: screen placement
MacBook and desktop Mac setups have different camera-to-screen geometry, which affects how you position the text area for best eye-line results.
On a MacBook, the webcam is at the top center of the built-in display. The screen is typically 13 to 16 inches, and you sit relatively close to it. The text area should be within the top 20 percent of the screen — close enough to the camera that your eyes do not noticeably drop below the lens when reading. A narrow text column in the upper center of the screen works well for most MacBook setups.
On a desktop Mac with an external monitor, the webcam is often on a separate stand above the monitor. In this case, position the text area at the very top of the monitor, as high as possible. Some desktop setups benefit from a secondary window or monitor positioned directly under the camera so the text is physically as close to the lens as possible. The iPad app is worth considering in desktop setups where you want a dedicated script display that can be placed right under the camera without occupying screen real estate on the main monitor.
Mac vs. iPad vs. iPhone: choosing the right device for your setup
Use Mac when your desk is already your recording studio. Zoom calls, screen recordings, tutorial videos, and webcam-based YouTube content all benefit from staying in the Mac workflow without adding extra devices to the setup.
Switch to iPad when you want a portable large-screen teleprompter, when you need to stand up and move during a presentation, or when you want a dedicated script display positioned near an external camera. The iPad's battery life and portability make it the better choice for live events, stage presentations, and any recording that happens outside of a desk setup.
Use iPhone for short-form vertical video — TikTok, Reels, Shorts — where the phone is both the camera and the teleprompter and portability is the primary requirement. The online teleprompter is an alternative if you occasionally need teleprompter access on a device where installing an app is not practical.
Free Mac teleprompter: what's included
Teleprompter-Scrolling Scripts is free to download from the App Store and runs on macOS without a subscription or account. The free version includes the full feature set: Prompter mode, Camera mode, local script storage, adjustable text size, adjustable scroll speed, adjustable text area size and position, and text color controls.
Scripts are stored locally on the Mac. There is no cloud sync, no sign-in, and no internet connection required for any feature. This makes the app reliable in low-connectivity environments — a hotel conference room, a studio with spotty Wi-Fi, or an airplane — where a browser-based teleprompter tool would fail or be slow to load.
The Mac app is the same codebase as the iPhone and iPad apps, which means the layout controls, modes, and script management work identically across all three platforms. If you already use the app on iPhone or iPad, the Mac version will feel immediately familiar.
Teleprompter-Scrolling Scripts is a free teleprompter for Mac, iPhone, and iPad. Use it for Zoom calls, desk recordings, webinars, and online courses — no account or internet required.
Use Free Online Teleprompter Get the Free App