How to use a teleprompter app
Learning how to use a teleprompter app is straightforward: paste your script, choose whether you want text-only scrolling or camera recording with a script overlay, set your scroll speed, and tap play. The full setup — from opening the app to first take — takes about two minutes once you have a script ready.
Step 1: Create or paste your script
Open Teleprompter-Scrolling Scripts and tap to create a new script. You can type directly in the app or paste text from anywhere — a notes app, a Google Doc, ChatGPT, Gemini, or any writing tool you already use. There is no account required and no cloud upload. Your script stays on your device.
Before you do anything else, read the script out loud once. This is the single most important step for getting a natural delivery. Every sentence that feels awkward to say out loud should be shortened or rewritten before you record. Scripts written for video should sound like conversation, not like an email. Use contractions, keep sentences under 20 words where possible, and add a line break wherever you want a natural pause.
For a one-minute video, a good script is about 140–160 words. For a five-minute explainer, aim for 700–750 words. These ranges leave room for natural pauses and emphasis rather than rushing to fit everything in.
Give the script a short name so you can find it again. Scripts are saved locally on your device, so there is no sync to manage.
Step 2: Choose Prompter mode or Camera mode
Teleprompter-Scrolling Scripts has two modes. Choosing the right one before you adjust any other setting saves time.
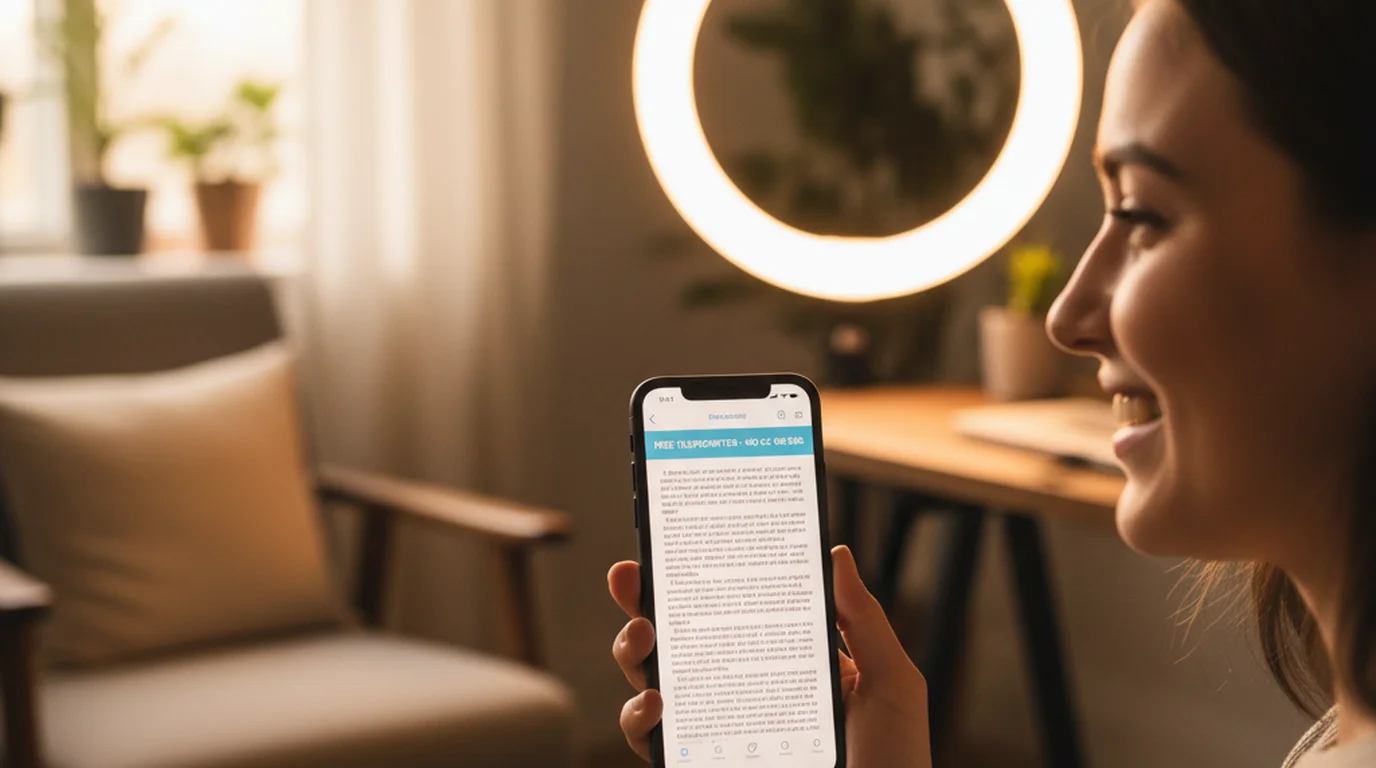
Prompter mode shows only the scrolling text — no camera. Use it when another device is doing the recording, for rehearsal, for live speeches, for classroom lessons, for webinar prep, or for any situation where you want a clean script display without opening the camera. On iPhone, Prompter mode works well when the phone is propped on a stand while a separate camera records. On iPad, it is ideal for longer scripts, lectures, and coaching sessions where reading comfort matters more than recording in the same app. On Mac, Prompter mode works for any workflow where a screenshare recording or external camera handles the video.
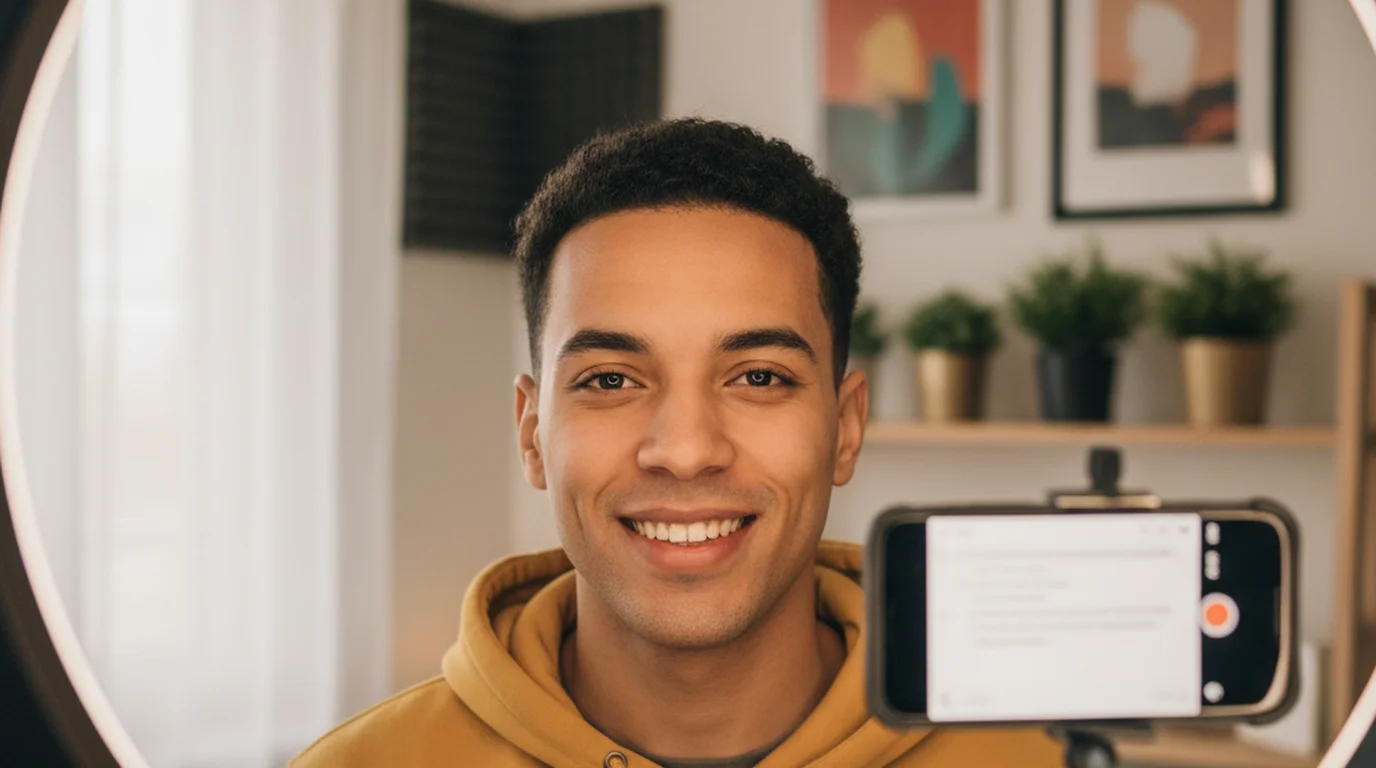
Camera mode opens the built-in camera and overlays the scrolling script on top of the live camera view. Use it when you want to record and read inside the same app without switching between tools. The script text appears on your screen during recording but is not burned into the saved video. Camera mode is the right choice for solo recording setups — YouTube videos, social content, online courses, and any session where you are the only person operating the camera.
If you are not sure which to use, start with Camera mode. It combines everything in one place and makes the setup fastest for a solo creator.
Step 3: Adjust text size, text area, and position
After choosing your mode, adjust three things: text size, text area height, and text area position on screen. These settings work together and affect how natural the recording looks.
Text size should be large enough to read comfortably at the distance you will actually be from the screen during recording. If the phone is on a tripod two feet away, the text needs to be larger than if you are holding it at arm's length. Test the size from your recording position, not while holding the phone in front of your face.
Text area height controls how many lines appear on screen at once. For camera-facing recordings where eye contact matters, use a narrow area of 2–3 lines. This keeps the text close to the camera lens and reduces how far your eyes travel as you read. For Prompter mode sessions — rehearsal, speeches, lessons — a taller area of 5–7 lines gives you more reading ahead time and a more comfortable pace.
Text area position should place the text as close to the camera lens as possible when you are recording. On iPhone, this means near the top of the screen. On iPad in landscape, it means near the edge where the front camera sits. On Mac, it means near the top of the window below the camera indicator. The closer the text is to the lens, the more natural your eye contact looks on camera.
You can also adjust text color and line spacing. High-contrast text — white on a dark background or black on a light background — is easiest to read quickly. Comfortable line spacing reduces the chance that your eyes will accidentally skip a line mid-sentence.
Step 4: Set your scroll speed
Scroll speed is the setting most people adjust most often. The goal is a speed that feels like the script is pacing slightly behind you — waiting for you, not pulling you along.
A good starting point for most speakers is a speed that corresponds to about 120–140 words per minute. This is a comfortable conversational pace that leaves room for natural pauses and emphasis without feeling rushed. If you speak faster than average, start slightly higher. If your content involves complex ideas that need time to land, start slower.
The most common mistake is setting the speed too fast in the belief that a faster recording will sound more confident. It usually has the opposite effect — fast delivery sounds pressured, and the viewer senses that you are trying to keep up with something.
After setting a starting speed, do a 20-second test run before the full recording. Watch the test back and listen for whether your delivery pace matches the way you normally speak. If you sounded rushed, slow the scroll by one step. If you sounded like you were waiting for each line, increase it. Make one adjustment at a time so you can isolate what changed.
You can also pause the scroll at any time by tapping the screen, or use the manual drag to reposition the script if you go off-pace during a take.
Step 5: Run a short rehearsal before recording
Before doing the full recording, run a 20–30 second rehearsal. This is the step most people skip and the one that saves the most retakes.
During the rehearsal, check four things: Is the scroll speed comfortable? Is the text area positioned close enough to the camera that your eyes look natural? Is the text size readable from your recording distance? Does the first paragraph of the script sound like you actually talk?
If anything feels off, fix it before recording the full take. Small problems that feel minor during a rehearsal become obvious in a full recording. A rushed first line, a text area that is slightly too low, or a scroll speed that is slightly too fast will show up in every minute of the video.
For longer recordings — course lessons, webinars, explainer videos — it is worth rehearsing the first and last 30 seconds. The opening sets the tone for the whole video, and the closing is often where delivery gets hurried as people try to finish. Both benefit from a quick check before the real take.
On iPhone, the rehearsal doubles as a lighting and framing check. On iPad, it confirms that the text size is comfortable for the longer reading ahead. On Mac, it verifies that the camera framing is clean and the background is what you intended.
How to use voice commands during recording
Teleprompter-Scrolling Scripts supports voice commands that let you control the scroll without touching the screen. This is useful when the device is on a tripod or stand and reaching to tap would disrupt the shot.
Say "pause" to stop the auto-scroll. Say "pause" again to resume. This lets you stop mid-sentence if you want to redo a line, take a breath, or wait for a distraction to pass, then continue from the same place without manually repositioning the script.
Voice commands work in both Prompter mode and Camera mode. In Camera mode, the voice command does not interrupt the video recording — it only controls the scroll. The video continues running while the script pauses, and you can manually drag the script back to the right line before resuming.
For hands-free workflows — classroom teaching, live presenting, standing at a lectern — voice commands make the setup fully independent of touching the screen. Set the scroll speed slightly slower than your normal pace, use voice pause when you want to add something not in the script, and resume when you are ready to continue.
Tips for getting a natural take on the first try
Most teleprompter recordings that look stiff have the same root causes. Knowing them in advance makes the first take much more likely to succeed.
Read it like a conversation, not a performance. The most natural-sounding teleprompter recordings are ones where the speaker sounds like they are talking to a single person, not presenting to an audience. Aim for the tone you would use explaining something to a colleague.
Do not try to hide that you are reading — focus on making the reading invisible. The way to do this is not to act like you are not reading, but to set up the text so close to the camera and at a pace so comfortable that your eyes barely move. Invisible eye movement means invisible reading.
Allow yourself to pause. Real speech has pauses. A teleprompter recording that has no pauses sounds like someone reading as fast as possible. Use the pause function, or simply pause speaking while the scroll continues, then catch up naturally. Viewers accept pauses as normal — they notice rushing.
Keep the script short and punchy. A 90-second script that covers one idea clearly outperforms a four-minute script that covers six ideas in a hurry. If the script is longer than you want, cut it before recording rather than trying to get through it faster.
Accept imperfect takes. A slight stumble over one word is rarely noticeable to viewers and is far less visible than the stiffness that comes from over-rehearsing or trying to deliver a perfect performance. Record, review, and if the content is clear and the delivery is mostly natural, use it.
Teleprompter-Scrolling Scripts works on iPhone, iPad, and Mac. Prompter mode for text-only scrolling, Camera mode for recording video with a script overlay. Local-first, no account needed, free to download.
Use Free Online Teleprompter Get the Free App