Best Free Autocue for PC and Windows: No Download Needed
![]() Wendy Zhang · May 21, 2026 · 7 min read
Wendy Zhang · May 21, 2026 · 7 min read

If you are searching for an autocue for PC, you have probably noticed that most results either push expensive hardware or apps that only run on iOS and Mac. "Autocue" is the British English word for teleprompter — both terms mean the same thing: a scrolling script display that lets you deliver content naturally to camera without memorising lines. On Windows, the situation is straightforward: there is no dedicated native Windows autocue app worth recommending, but a free browser-based autocue works just as well for the scenarios where PC users actually need one — Zoom and Teams calls, YouTube desk recording, online course production, and live presentations.
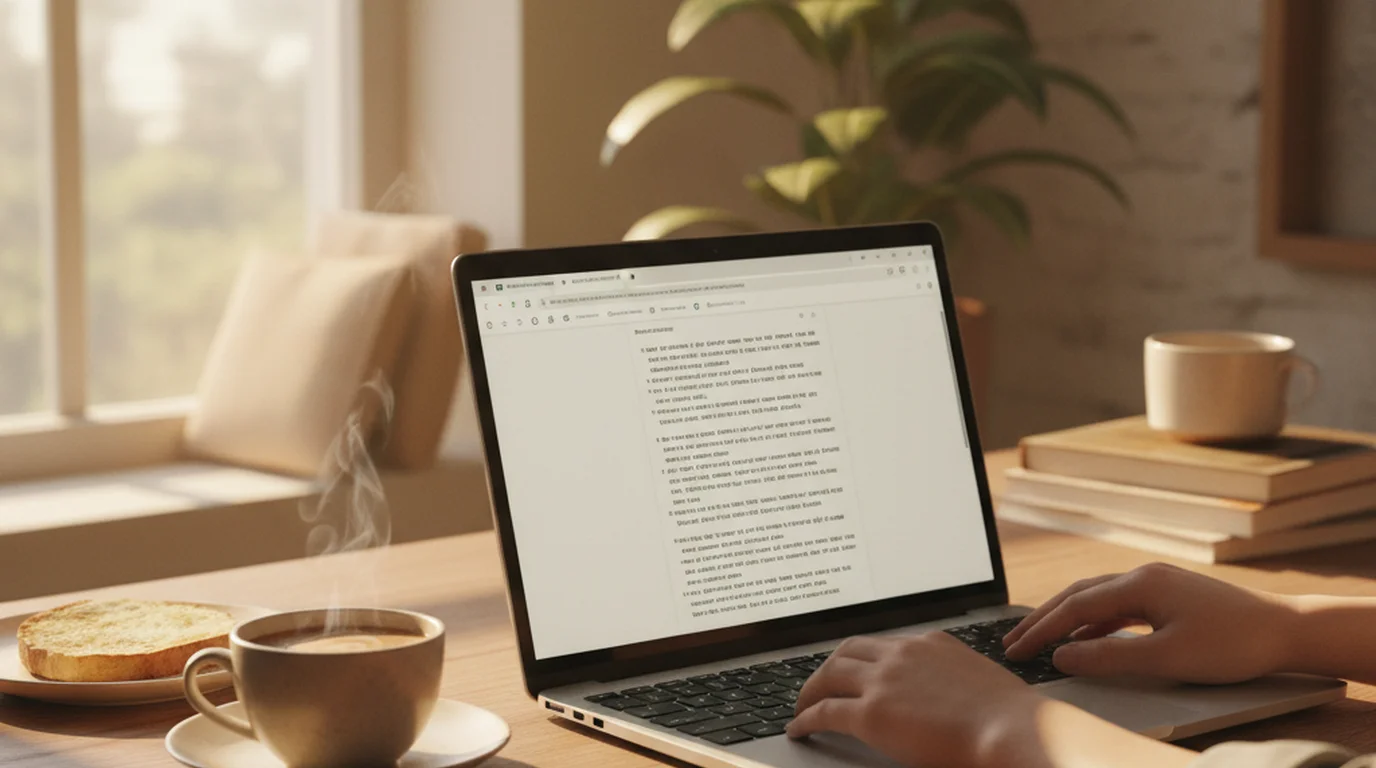
The best free autocue for PC and Windows is the web app at teleprompter.works/online. It opens in Chrome, Edge, or Firefox with no download, no account, and no paywall. Paste your script, set your text size and scroll speed, and press play. This guide covers exactly how to set it up for each use case, including Zoom call positioning, full-screen mode with F11, and how to get the best eye-line alignment between the script and your webcam.
What "autocue for PC" actually means
"Autocue" entered everyday language from the broadcast industry. Autocue Ltd is a British company that has manufactured professional teleprompter hardware for television studios since the 1950s — their equipment became so ubiquitous in UK broadcasting that the brand name became the generic term, the same way "Hoover" became a synonym for vacuum cleaner in British English. When someone in the UK or Australia searches for an autocue for PC, they are looking for exactly the same thing a North American would find under "teleprompter for Windows": software that scrolls a script at a controlled speed so you can read while appearing to speak naturally to the camera.
On PC, an autocue works best as a browser-based tool. Unlike iOS and macOS — where native apps can integrate directly with the camera hardware to overlay script text on a live video feed — a browser-based autocue on Windows displays the scrolling script in a browser window. You position that window near your webcam and read from it during recording or calls. The setup is simple, and for the vast majority of PC use cases — Zoom calls, Teams meetings, YouTube desk-to-camera recording, online courses — a browser autocue is all you need.
"Autocue" is the British English term for teleprompter, derived from the Autocue brand of professional broadcast hardware used in UK television studios. In everyday usage, "autocue" and "teleprompter" are interchangeable — both refer to a scrolling script display that enables natural on-camera delivery without memorising lines.
The one capability a browser-based autocue does not have on Windows is Camera mode — a feature in the native iOS and Mac apps that records video with the script text overlaid directly on the camera preview. That integrated recording experience requires native platform access. On PC, you use the browser autocue in a separate window alongside your recording software, rather than inside it. For desk recording with a webcam, this distinction rarely matters in practice — the workflow is quick to learn and takes no more than a few minutes to configure.
Best free autocue for Windows: the web app
The teleprompter.works/online web autocue is free, requires no download, and works in any modern browser on Windows — Chrome, Edge, or Firefox. There is no account creation, no trial period, and no feature gating. Open the URL, paste your script into the editor, configure the text size and scroll speed, and you are ready. The whole setup takes under two minutes from first visit.
The web app runs in Prompter mode: it displays your script text in large, high-contrast format and scrolls it at the speed you set. You control the scroll manually — tap or click to start and stop — which means you can pause at any point to collect your thoughts, handle a question on a call, or adjust your delivery before continuing. There is no forced auto-advance that locks you into a pace you cannot control. This is the mode that works for everything from a Zoom sales call to a 20-minute YouTube recording session.
For Windows users who also have a MacBook or use other Apple devices, the native app is available separately. Teleprompter-Scrolling Scripts for Mac installs natively on MacBook Air and MacBook Pro and includes Camera mode alongside Prompter mode. If your Windows PC is your primary machine but you occasionally record on a Mac, both tools are available to you — the web app for the PC and the native app for the Mac.
For a broader comparison of Windows teleprompter options, see the related guide on best free teleprompter for PC and Windows, which covers several tools side by side. This post focuses specifically on the autocue use case — particularly Zoom calls, desk recording, and full-screen presentation setups that PC users run into most often.
How to set up the web autocue on Windows: step by step
Setting up the free browser autocue on a Windows PC takes about two minutes. Open Chrome, Edge, or Firefox and go to teleprompter.works/online. The script editor loads immediately — no splash screen, no account prompt. Click into the text field and paste your script. You can type directly in the editor, but most users find it faster to write the script in a separate document and paste it in when ready.
Once the script is in, adjust two settings before going into scroll mode: text size and scroll speed. Text size should be large enough to read comfortably from your normal sitting distance to the screen — for most PC monitors at arm's length, a setting between 40 and 60 points works well. If you are using a small laptop screen or sitting further back, go larger. Scroll speed is measured in how fast the text advances; start in the middle of the range and do a short test run before recording or going live on a call. Most people settle on a pace slightly slower than they expect — it leaves room for natural pauses and emphasis.
For full-screen mode on Windows, press F11 in your browser before starting the scroll. F11 removes the browser chrome — the address bar, tabs, and toolbar — and expands the script text to fill the entire monitor. This is the correct mode for presentations where the script is on a separate display, for recordings where you want maximum text size, and for any setup where the browser UI would be a visible distraction. Press F11 again to exit full-screen mode. In Microsoft Edge, you can also enter full-screen via the three-dot menu and selecting "Enter full screen" — but F11 is faster.
When you are ready to scroll, click the play button in the web app. The script begins advancing at the speed you set. Click once to pause, click again to resume. If you need to reposition in the script — jump back to a section you missed or skip ahead — use the scroll bar to navigate, then resume from the new position. There is no penalty for stopping and restarting; the text holds its position until you move it.
Autocue for PC on Zoom and Microsoft Teams calls
Using an autocue during a Zoom or Teams call on a Windows PC is one of the most practical applications of the browser-based setup. The goal is to position the scrolling script close enough to your webcam that your eyes appear to look toward the camera — rather than down at notes or sideways at a second window — while you read the prepared content during the call.
The most effective setup uses two monitors. Place the Zoom meeting window on one monitor — the one your webcam is above, or the one you use as your primary display — and open the teleprompter.works/online web app on the second monitor. Position the second monitor directly below or directly beside your webcam. Before the call starts, paste your talking points, key messages, or full script into the web autocue and set the text size large enough to read with a quick glance. During the call, start the scroll and let it run at a slow, steady pace — slow enough that you are not rushing to keep up, but advancing so you always have the next point visible.
If you have a single monitor, use Windows Snap Assist to split the screen. Press the Windows key and left or right arrow to snap the Zoom window to one half of the screen, then select the browser with the web autocue to fill the other half. Position the browser half of the screen on the same side as your webcam — or as close to it as the physical setup allows. With this arrangement, your eye movement between the call and the script is minimal, and your face stays forward-facing through most of the call.
A practical tip for Zoom autocue use: write your script as bullet points or short phrases rather than full sentences, and set the scroll speed very slow — almost a crawl. During a live call you will not be reading word-for-word at broadcast pace; you will be glancing at the next key point and then speaking naturally about it. The autocue in this context is more of a structured cue sheet than a word-for-word script, and the slow scroll means the next point is always visible without you needing to do anything active to advance it. Start the scroll when you begin speaking and let it run throughout — if you go off-script or spend more time on a point than expected, simply tap to pause and resume when you are ready to move on.
PC autocue for YouTube desk recording and online courses
Desk-to-camera recording on a Windows PC — for YouTube content, online courses, webinars, or explainer videos — is where the web autocue delivers the most visible improvement to delivery quality. Reading from a script while appearing to speak directly to camera is the difference between content that feels polished and rehearsed and content that feels hesitant or stilted. The web autocue at teleprompter.works/online handles this workflow well with a two-window or dual-monitor arrangement.
For single-monitor desk recording, the cleanest arrangement is to run the browser autocue in a narrow window positioned directly below your webcam. If your webcam is at the top of the monitor, open the web autocue in a small browser window and drag it to the top of the screen, centred under the camera. Increase the font size significantly — 70 to 90 points — so the text is readable from a few lines at the top of the browser window without you needing to focus hard. The goal is that your eye moves only a few centimetres from the camera lens to the script text. At that small angle, the viewing audience will not notice you are reading.
For dual-monitor recording setups, put the web autocue on the monitor that is directly in front of your camera and use the second monitor for your recording software, notes, or reference material. Press F11 to go full-screen on the autocue monitor, set the text size to fill approximately three visible lines on screen, and run the scroll at your natural speech pace. This mirrors a professional teleprompter setup — a dedicated display showing the scrolling script, positioned directly behind or around the camera lens — using just a browser and a second monitor.
If you record in OBS, Camtasia, or another screen-capture tool and want the script visible during recording, place the browser autocue window outside the capture region. Set your capture region to your webcam or a specific application window, and leave the autocue browser window uncaptured. This way the scrolling text is visible to you during the take but never appears in the recorded output. Alternatively, if you record with a dedicated webcam in a tool that captures only the camera feed, the autocue can be anywhere on screen — it will not appear in the video regardless of placement.
Full-screen autocue for Windows presentations
The F11 full-screen mode makes the web autocue practical for presentation scenarios beyond recording. If you are giving a live talk with a laptop connected to a projector or a second display, you can run the autocue on the laptop screen while projecting slides or camera feed on the main display. Press F11 before you begin to eliminate the browser address bar and tabs, leaving only the scrolling script on the laptop screen in front of you.
For online courses and webinar presentations recorded in advance, a common setup is to run the slides in presentation software on the primary monitor and the web autocue in full-screen on a second monitor. The script in the autocue follows the slide structure — one section per slide or slide group — and you scroll to the next section as you advance the slides. This gives you both the visual cue of the slide content and the script delivery guidance without needing to look down at printed notes or cut between windows visibly during the recording.
The web autocue does not integrate directly with PowerPoint, Google Slides, or Keynote — it is a standalone scrolling text window. If you want automatic advancement tied to slide changes, that is a feature available in dedicated presentation teleprompter software. For most users, the manual scroll control of the web autocue is more reliable in practice — it means you are always in control of the pace, and a slide advancing slightly early or late never pulls the script out of sync with your delivery.
Mac users: the native app adds Camera mode
If you are reading this on a MacBook or use a Mac alongside your Windows PC, there is a native app option that goes beyond what the browser autocue provides. See the full best autocue app for Mac guide for a complete breakdown. Teleprompter-Scrolling Scripts for Mac installs natively on macOS and adds Camera mode — a recording interface that overlays the scrolling script directly on the front-camera live view. In Camera mode, you record a video and read the script at the same time, with the text appearing on-screen over your camera preview. The script text is not burned into the recorded output; the video file is clean and ready to edit or share.
For Mac users who do desk-to-camera recording for YouTube or online courses, Camera mode removes the two-window setup entirely. The script, the camera, and the recording controls are all in one place within the app. Prompter mode on Mac works the same way as the web autocue — scrolling text only, no camera — and is the right choice for Zoom calls and rehearsal on Mac in the same way it is on Windows. The Mac app also stores scripts locally, works offline, and requires no subscription.
Windows users who occasionally use a Mac — for travel, studio recording sessions, or hybrid setups — can use the native app on the Mac and the web autocue on the PC. The script editor in the web app and in the native app are both plain text, so copying a script between the two is as simple as copy-paste. There is no account or cloud sync required for either.
Frequently Asked Questions
What is the best free autocue for Windows PC?
The best free autocue for Windows PC is the web app at teleprompter.works/online. It runs in Chrome, Edge, or Firefox with no download and no account required. Paste your script, adjust text size and scroll speed, and press play. For full-screen mode, press F11 in your browser before starting the scroll.
Does Windows have a native autocue app?
There is no native Windows autocue app from Teleprompter-Scrolling Scripts. The product is available as a native app for Mac, iPhone, and iPad. For Windows PC users, the free web autocue at teleprompter.works/online works in any modern browser — Chrome, Edge, or Firefox — and requires no installation or account.
Can I use an autocue on PC for Zoom calls?
Yes. Open teleprompter.works/online in Chrome or Edge, paste your talking points or script, and position the browser window beside or above your webcam on a second monitor or in a split-screen arrangement. Start the scroll before the call begins and read from the browser window while facing the webcam. This works on Zoom, Microsoft Teams, Google Meet, and any other video call platform.
What is the difference between autocue and teleprompter on PC?
Autocue and teleprompter refer to the same thing: a scrolling script display that helps a speaker deliver content naturally to a camera or audience. "Autocue" is the British English term, derived from the Autocue brand of professional broadcast hardware used in UK television studios. "Teleprompter" is the North American English term. On PC, both terms lead to the same solution — a browser-based scrolling script tool like teleprompter.works/online.
 Wendy ZhangI build Teleprompter-Scrolling Scripts for creators who want a simple, reliable way to read scripts on iPhone, iPad, and Mac.
Try the free web autocue for PC now
No download, no account, no paywall. Open teleprompter.works/online in Chrome or Edge, paste your script, and start scrolling in under two minutes — on any Windows PC or laptop.
Use Free Online Teleprompter Get the Free App